If you’ve ever moved to a new home, you know how awful it can be: you have to pack up all your belongings and get rid of stuff you don’t want in the new place. When it’s time to unpack everything, it’s a mess. Despite your best efforts, you can’t find what you’re looking for, and it takes a long time to organize everything.
Managing your data is the same, especially if you have to move it in bulk from one place to another. That’s why we created Transfer by Zapier—currently in beta. It allows you to move app data exactly where you need it, on demand.
This guide will walk you through using Transfer by Zapier to move app data exactly where you need it most.
What you’ll find in this guide:
Zapier lets you automatically send information from one app to another, helping you reduce manual tasks. Learn more about how Zapier works.
What is Transfer by Zapier?
In a standard Zap—what we call our automated workflows—you have a trigger and action. The trigger is the event that starts a Zap, and the action is the event your Zap performs when triggered.
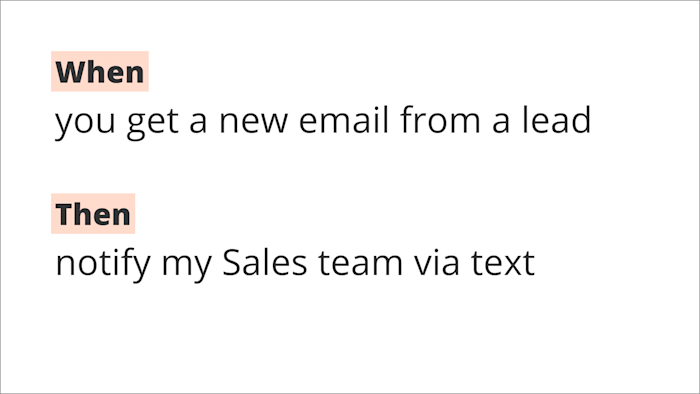
Transfer by Zapier, on the other hand, is a standalone tool. Instead of waiting for an event to occur in one app, you can move data in bulk from one app to another, on demand.

You can also choose which information you want to move and where you want it to go. You don’t have to worry about cleaning up data once you’ve moved it, either, because Transfer allows you to set which piece of data goes where—we call this “mapping fields”—just like you would in a Zap. You can also filter the data you want to transfer.
Think of Transfer like a moving truck for information, except you don’t have to wait for the movers to arrive. You decide what goes in the truck and where you want it to go—whenever you’d like. And you don’t have to worry about unpacking and cleaning up a mess.
When should I use Transfer?
Zaps can help you automate work processes and manage the ongoing flow of information from one app to another, but there are instances where using Transfer will serve your needs better.
Migrate historical data for Zaps
Once a Zap is turned on, it’ll perform actions on your behalf from that point forward. But a Zap cannot perform actions on pre-existing items. With Transfer, you can move that historical data from select apps—including Salesforce, Mailchimp, and Airtable—to any of the thousands of apps Zapier supports.
So let’s say you just set up a Zap that automatically adds new email subscribers to a spreadsheet. That will take care of any new subscribers that come in, but it won’t move over any existing subscribers in your system. You can use Transfer to take care of that historical data, migrating all your existing email subscribers to that same spreadsheet, prior to turning on your Zap.
Manage one-time data transfers for big projects
Once you turn a Zap on, it’ll perform actions on your behalf until you turn it off. You can also use Zapier to take care of one-time tasks if you’d like. But there may be instances where you need to move large amounts of data for a big project.
Perhaps you’re sending bulk invites to a virtual webinar from a spreadsheet. You can use Transfer to make a one-time data transfer, making it easier to manage bulk information.
Copy data when you start using a new app
As businesses and operations grow, you may have to add a complementary app to your tech stack—and you need to populate that app with existing information.
While many apps allow you to export data to a CSV file manually, there’s a limited amount of data you can filter. And often, you need to clean up the information before uploading the file to your app of choice. If the import doesn’t play nice, you have to spend even more time cleaning up data.
Transfer allows you to select the information you want to move—up to 25,000 items per batch, as long as your Zapier plan supports it—avoiding time (and tears) wasted on data cleanup.
For example, if you’ve been using an email marketing tool for years, and just added a CRM (customer relationship manager) to the mix, Transfer can help you ensure all your existing subscriber information is loaded into your CRM.
Each record you move with Transfer by Zapier counts as a task. Your Zapier plan permits a certain number of tasks per month. Learn more about tasks.
How to set up Transfer
Now that you understand what Transfer is and how you might use it, we’ll walk you through setting up a transfer for the first time.
Before we begin, you may see two new terms in this tutorial:
-
Source: Your source is the original location of your data.
-
Destination: The destination is where you want your data to be sent.
-
Record: A single unit of data sent during a transfer. What counts as a record depends on the source app. For example, a record could be a single row in a spreadsheet, a contact record in your CRM, or an order in your online store.
With that in mind, here’s how to set up Transfer:
-
Select your source and destination.
-
Connect your source and destination apps.
-
Set how your transferred records will look in your destination app.
-
Filter the information you will send from your source app.
-
Complete the transfer.
Once you’re logged into your Zapier account, you can access Transfer from the left-hand menu or visit transfer.zapier.com
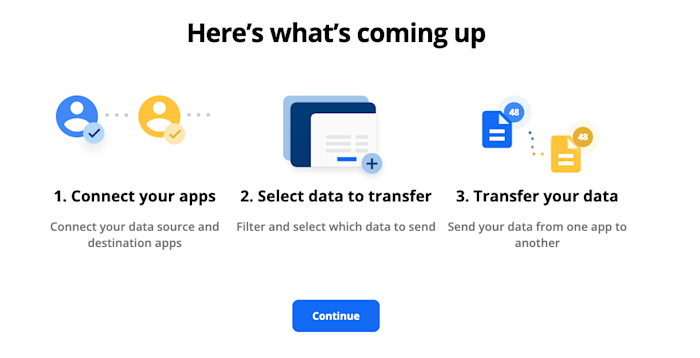
Once you’re in Transfer, you’ll see a welcome screen explaining what you’re about to do. Click Continue.
Select your source and destination
Next, you’ll need to select your source and destination. Remember, the source is where your data is located. The destination is the location you want to send your data to.
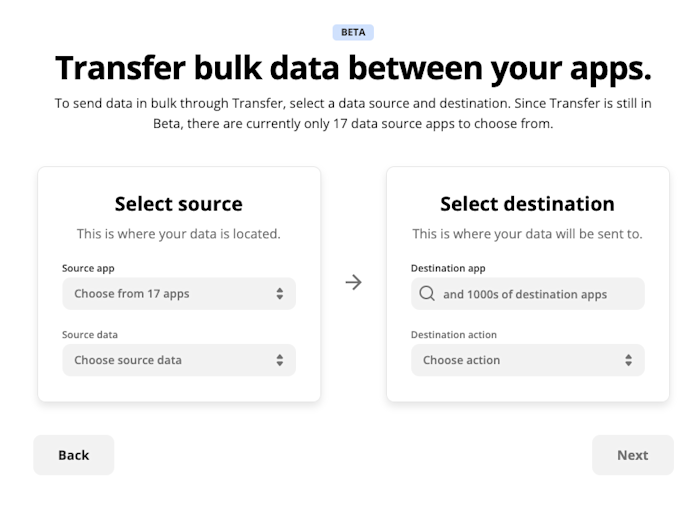
There are currently more than a dozen source apps to choose from.
Transfer source apps include: Google Sheets, Gmail, Google Forms, Google Ads, Gmail, Microsoft Excel, Salesforce, Shopify, Facebook Lead Ads, Mailchimp, Google Calendar, Stripe, Airtable, LinkedIn Lead Gen Forms, Slack, Eventbrite, Twitter, Pipedrive, Wufoo, Zoom, and Strava.
Click on the Source app dropdown menu to make your selection. Then, click on the Source data dropdown menu and select the type of information you want to send. This will vary depending on your source app. In this example, we want to send leads from Facebook Lead Ads into HubSpot as contacts.
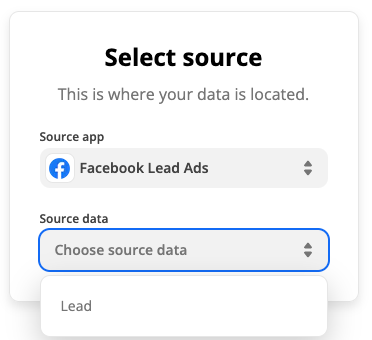
Next, you’ll select your destination on the right. Click on the dropdown under Destination app, type and select the name of the app you want to transfer data to. You can use any of the thousands of apps in Zapier’s App Directory as a destination.
Then, click on the dropdown under Destination action and select the type of record you want your transfer to create. In this example, we want to send our Facebook leads to HubSpot and create new contacts.
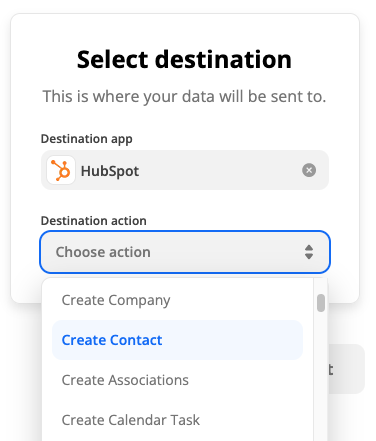
After you’ve selected your source and destination, click Next.
Connect your apps
You’ll next be prompted to connect your source app to Zapier.
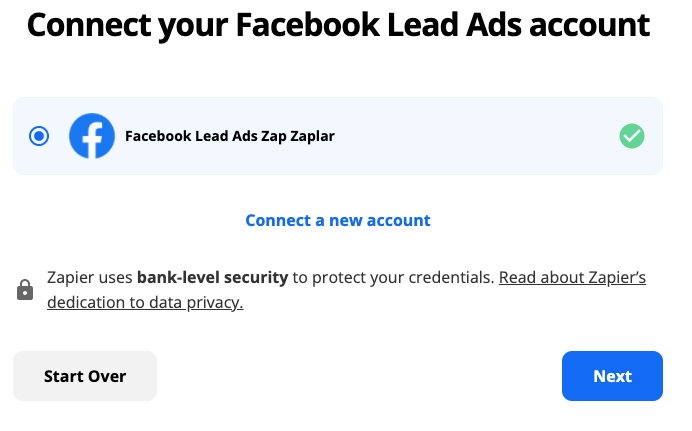
For each app you connect, Zapier will ask for a general set of permissions that allows you to be flexible with your transfers. Zapier only takes actions in your app accounts that are required to initiate a Transfer.
Once you’ve connected your app account, select it and click Next.
Now you’ll select where in your source app Zapier should look for data. This will vary depending on the data you want to move and the app you’re using.
In this example, we’re transferring lead information, so we need to select the Facebook page and associated lead form. This tells Zapier which leads from Facebook Lead Ads we want to send.
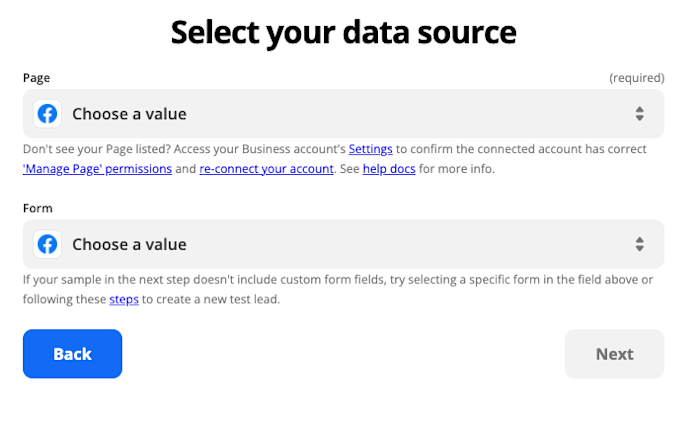
Once you’ve made your selections, click Next. Connect your destination app to Zapier, select it and click Next.
Set how your transferred records will look in your destination app
Now you’ll set up how you want an individual record to look in your destination app. You might see data you don’t want to send, but don’t worry—you’ll have a chance to filter the information you want to send in a later step.
For now, you’ll map information from your source app to your destination app—this tells Zapier exactly what information to send to what place during the transfer. Since Facebook Lead Ads is our source and HubSpot is the destination in our example, we’re going to map Facebook lead data to the appropriate HubSpot contact fields.
The number of fields that you’ll see will vary, depending on the destination app. If you’re initiating a Transfer to a CRM, you’ll see every possible field available. You don’t need to map to every field—just the ones you care about—and anything marked “required.”
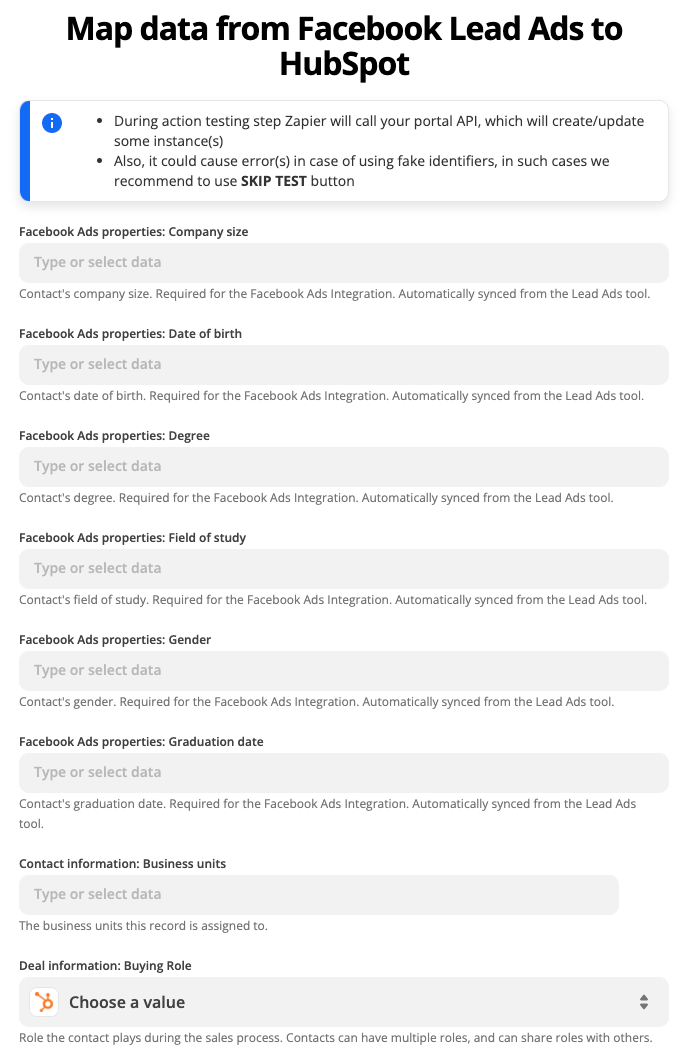
To map information, click on a blank field. This will reveal a dropdown menu that will show information Zapier pulled from your source app. In this example, it’s information from a recent lead.
You can scroll through the options, or search for and select the data you want to go in a field. To search, be sure you are typing in the search bar below the Elements heading, and not typing in the field itself.
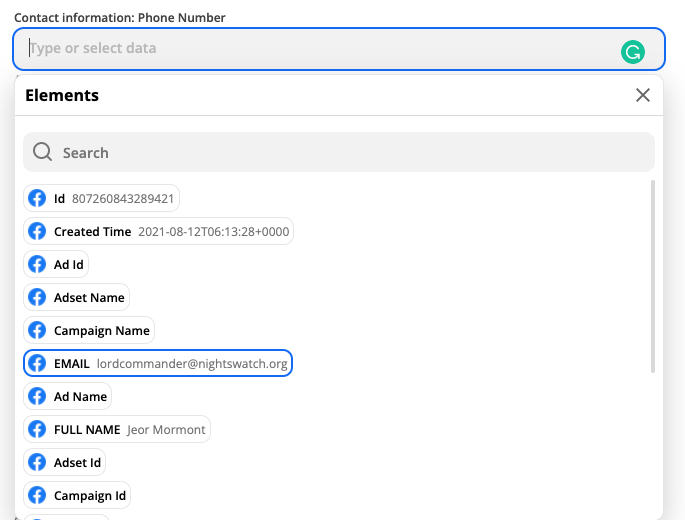
Note: If you want the same information to appear for a specific field in each record transferred, you can type text and numbers in the field. That typed information will show up for every record transferred.
Once you’ve mapped all the information you want to send to your destination app, click Next.
Now you can preview how an individual record will look in your destination when the transfer is complete. This is your chance to double-check that you’ve mapped everything correctly.
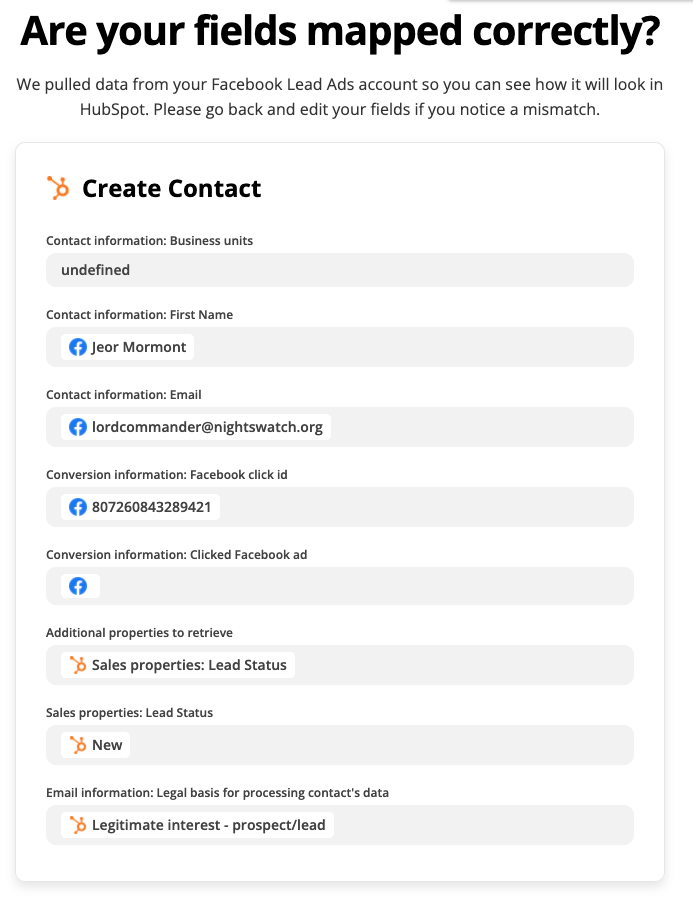
If you notice something looks off, you can go back and make changes. Once you are satisfied with how the information looks in the preview, click Next.
Filter the information you want to send via Transfer
Now you’ll filter the information you want to send to your destination. Click on Filter by all fields to set up a filter.
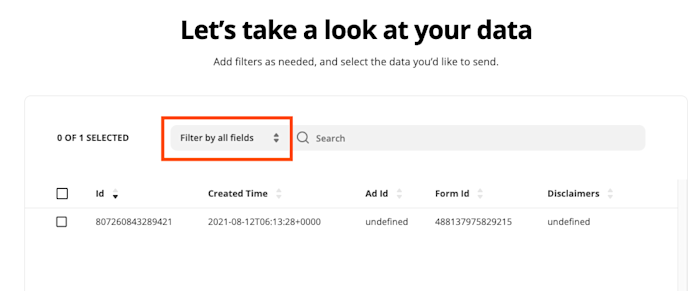
There are some default fields, but other filter options will depend on your source app and the fields you mapped in the previous step. In this example, we want to filter our Facebook leads by the date they were created.
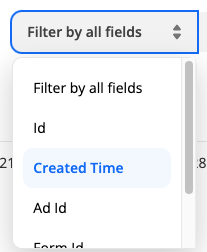
Once you select the field you want to filter by, you can type in the search bar to narrow down your data.
As you can see below, when I filter by Facebook leads created in 2020, Zapier doesn’t find anything because I don’t have leads created in that year.
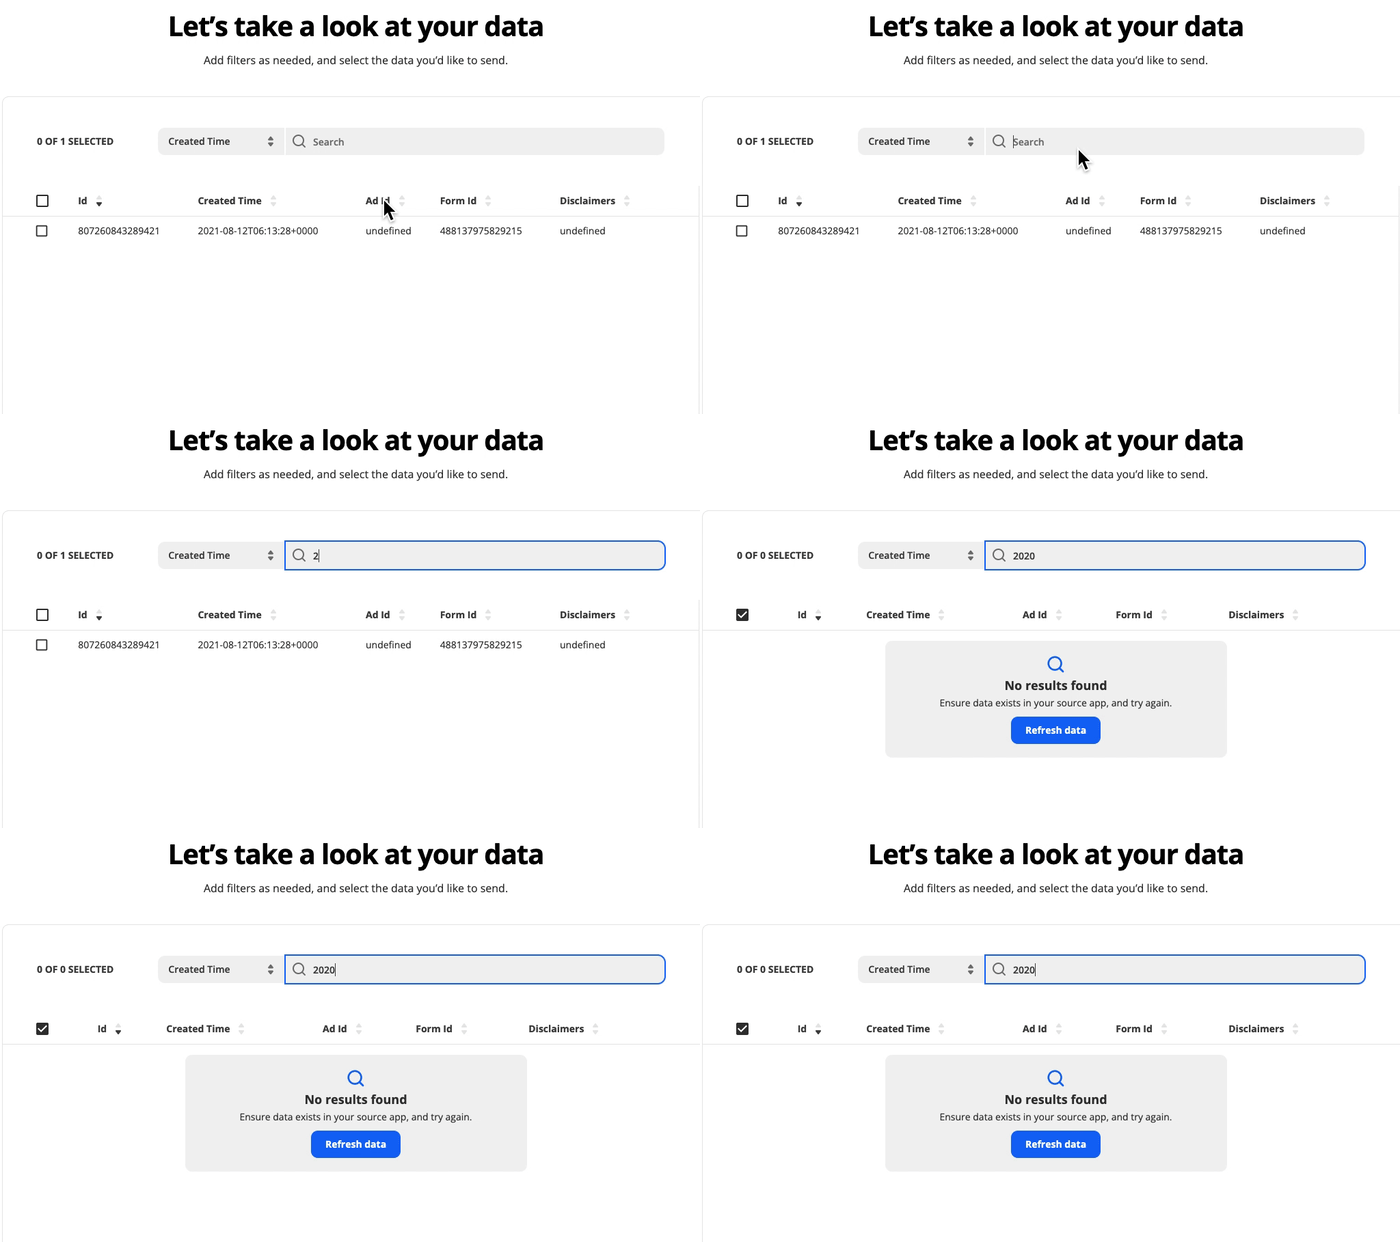
Free and trial accounts can preview up to 100 recent records, in chronological order, from their source app. Paid Zapier plans have no limit to records that can be previewed.
Once you’ve filtered your data, you can see the records Zapier will transfer based on your criteria. Select all the records you want to send to your destination app and click Next.
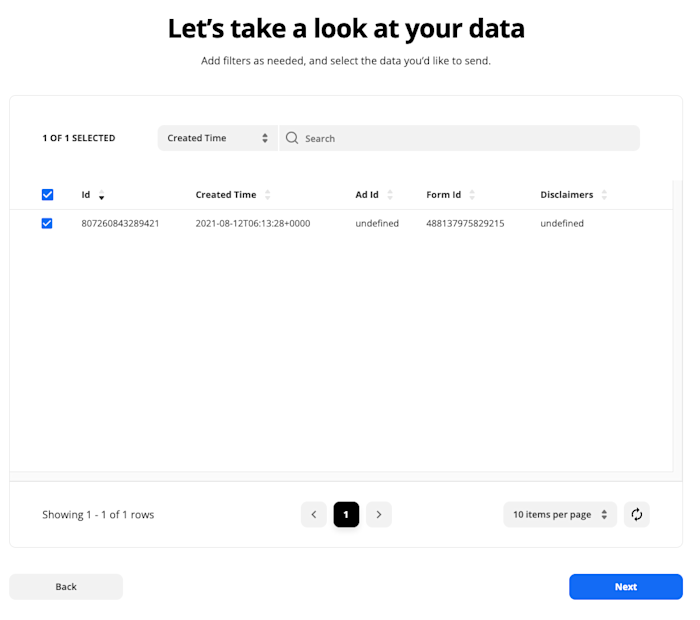
Complete the transfer
You’ll be directed to a screen where you’ll confirm the data Transfer will send. Zapier will tell you how many records you’re transferring, where they will go, an estimate of how long the transfer will take, and how many tasks it’ll use. If everything looks good to you, click Send data.
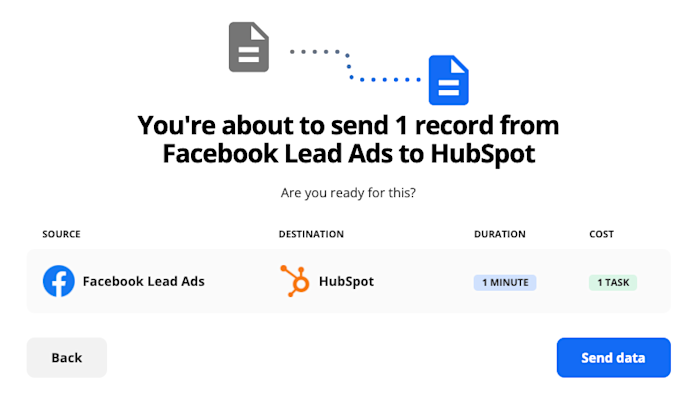
You’ll then see this success message:
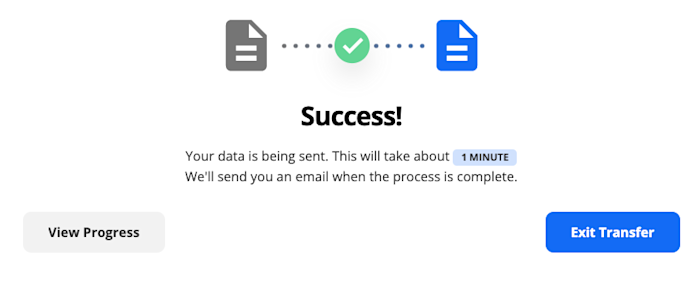
This confirms that Transfer has sent the records to Zapier.
You’ll receive an email when the transfer process is complete. You can also review Transfer records in your Zap History and will see them as new records in your destination app.
At this point, you can choose to exit Transfer or click View Progress to get a detailed view of what’s happening with your records.
Viewing your transfer
If you click on View Progress, you’ll be directed to the history of this transfer. This information is found in your account’s Zap History, marked with a Transfer label.
You can also access it in the Transfer tab located in the left-hand menu of your Zapier account. Once there, click on an individual Transfer.

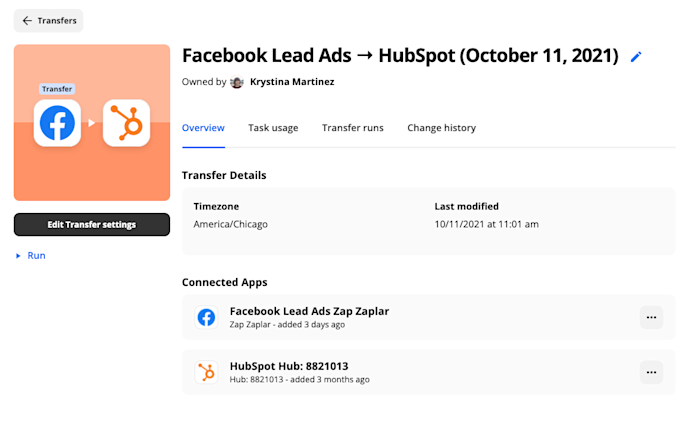
This will look familiar if you’re familiar with your Zap History. In the Overview tab, you’ll see the connected source and destination apps.
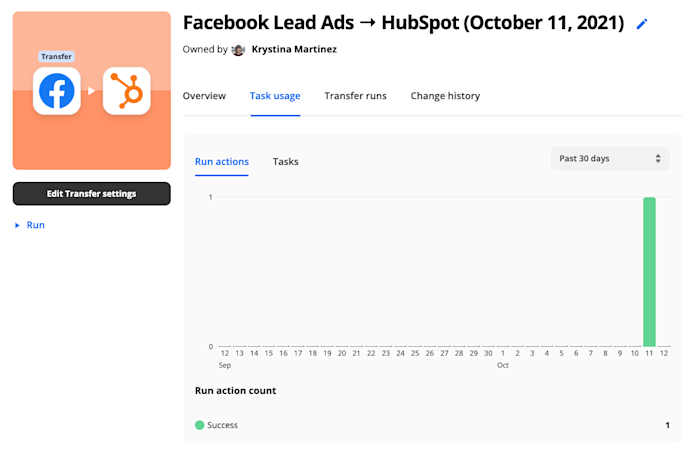
Under Task usage, you’ll see a chart of the tasks the specific Transfer used.
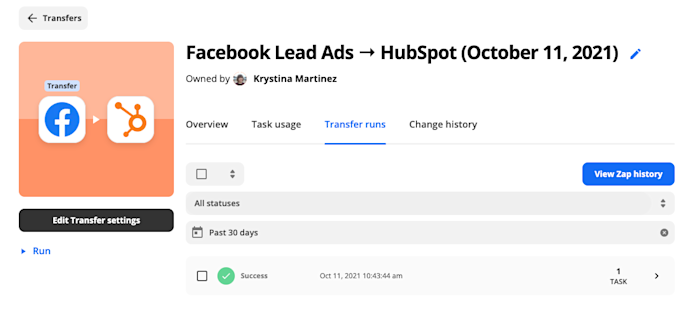
Under Transfer runs, you can see the status of the transfer. If something didn’t work, you’ll see a Stopped status. You can click on the run to view the details and identify where an error may have occurred.
No data left behind
Moving data doesn’t need to be a drag. With Transfer by Zapier, you can move leads, customer information, events, and more—without the cleanup duty.
New to Zapier? It’s a tool that helps anyone connect apps and automate workflows—without any complicated code. Sign up for free.
[adsanity_group align=’alignnone’ num_ads=1 num_columns=1 group_ids=’15192′]
Need Any Technology Assistance? Call Pursho @ 0731-6725516

