Uncover the secrets to mastering editing with Adobe Premiere Elements in just a few simple steps. Your videos will thank you!
 Image courtesy of via
Table of Contents
- Introduction to Video Editing with Adobe Premiere Elements
- Getting Started with Adobe Premiere Elements
- The Basics of Editing a Video
- Adding Special Effects and Transitions
- Making Your Video Sound Great
- Sharing Your Video with the World
- Conclusion: Becoming a Young Filmmaker with Adobe Premiere Elements
Introduction to Video Editing with Adobe Premiere Elements
Video editing is a creative and exciting process that allows you to turn your raw video footage into a polished and professional-looking project. Adobe Premiere Elements is a fantastic tool that helps make this process easy and fun. Whether you’re shooting videos of your pets, family vacations, or school projects, Adobe Premiere Elements can help you bring your stories to life with its user-friendly editing features.
What Is Adobe Premiere Elements?
Adobe Premiere Elements is a software that many people use to create awesome videos. It gives you the power to edit your videos, add special effects, transitions, and music, and then share your finished projects with friends and family. With Adobe Premiere Elements, you can unleash your creativity and make your videos truly stand out.
Why Video Editing Is Fun
Editing videos with tools like Adobe Premiere Elements can be a blast! You get to be the director of your own movie, deciding which scenes to include, how to transition between them, and what music to add to set the mood. It’s like putting together a puzzle where you have all the pieces, and you get to decide how they fit together. Plus, once you see the finished product, it’s incredibly satisfying to know that you created something special.
Getting Started with Adobe Premiere Elements
So, you’ve decided to dive into the exciting world of video editing with Adobe Premiere Elements. Let’s begin by exploring how to set up the software and start your first multimedia project.
Setting Up
Setting up Adobe Premiere Elements on your computer is as easy as a few clicks. Simply download the software from the official website and follow the installation instructions. Once installed, launch the program and get ready to unleash your creativity!
Creating a New Project
Now that Adobe Premiere Elements is up and running, it’s time to start a new project. Click on the “New Project” button to create a blank canvas where you will bring your video ideas to life. Think of this space as your digital playground where you can craft amazing videos.
The Basics of Editing a Video
Before you can start editing your video in Adobe Premiere Elements, you need to bring your video clips into the software. This is called importing. Just like you upload photos to your computer, importing videos is similar. You can choose the video clips you want to use and import them into Adobe Premiere Elements to begin your editing process.

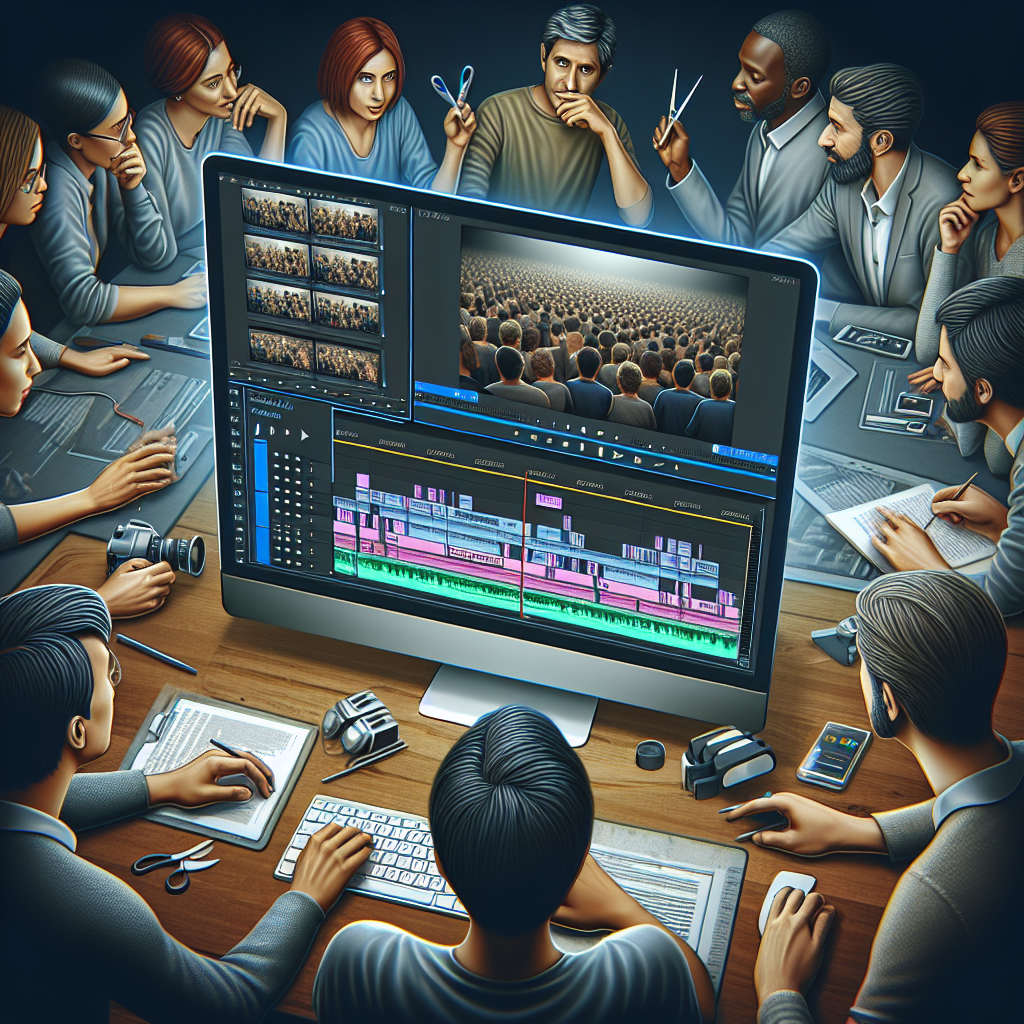
Image courtesy of helpx.adobe.com via Google Images
Using the Timeline
The timeline in Adobe Premiere Elements is where all the magic happens. Think of it as a big canvas where you can place your video clips in a specific order to tell your story. You can see the timeline as a series of boxes where each box represents a different part of your video. By arranging and moving these boxes around on the timeline, you can create a smooth and cohesive video.
Cutting and Rearranging Clips
Once your video clips are on the timeline, you can start cutting them into smaller pieces. This allows you to remove parts of the video that you don’t want and rearrange the clips in the order you desire. For example, if you filmed a scene in one take but want to remove a section where you made a mistake, you can cut that part out and seamlessly combine the rest of the footage to tell your story without any interruptions.
Adding Special Effects and Transitions
Special effects are like magic tricks for your videos! They can make your video look super cool and exciting. In Adobe Premiere Elements, you can add special effects to make your video more fun to watch. These effects can transform your video into something amazing, like making objects disappear, creating explosions, or adding cool visual effects that will impress your viewers.
How to Add Transitions Between Clips
Transitions are like bridges that connect one scene to another in your video. They make the switch from one clip to the next smooth and seamless. In Adobe Premiere Elements, you can choose from a variety of transitions like fades, wipes, and dissolves to make your video flow beautifully. By adding transitions between your clips, you can make your video look more polished and professional.
Making Your Video Sound Great
When creating a video, it’s not just the visuals that matter – sound is equally important in making a video engaging and entertaining. Let’s talk about how you can make your video sound great using Adobe Premiere Elements.
Adding Music to Your Video
Adding music to your video can set the mood and enhance the overall feel of your project. In Adobe Premiere Elements, you can easily import music tracks to accompany your visuals. Choose music that suits the tone of your video, whether it’s upbeat and energetic or calm and soothing. Remember to adjust the volume of the music so it doesn’t overpower your video’s narration or dialogue.
Using Sound Effects
Sound effects can bring your video to life by adding depth and realism to the scenes. Adobe Premiere Elements provides a library of sound effects that you can choose from to enhance different moments in your video. Whether it’s the sound of a doorbell ringing or the roar of a waterfall, sound effects can make your video more engaging. Experiment with different sounds to see how they can improve the overall quality of your project.
Sharing Your Video with the World
In the exciting world of film making and video production, once you have completed editing your masterpiece in Adobe Premiere Elements, it’s time to share it with the world. Whether you want to show off your creation to friends and family or share it on social media, here are some tips on how to do it.
Saving Your Project
Before sharing your video, it’s essential to save your project in Adobe Premiere Elements. This way, you can always come back to it later to make changes or create different versions. To save your project, simply go to the File menu and select Save or Save As. Make sure to choose a location on your computer where you can easily find it.
Exporting the Finished Video
Now that your project is saved, it’s time to export the finished video. Exporting means turning your project into a video file that can be played on any device. In Adobe Premiere Elements, you can export your video by going to the File menu and selecting Export. Choose the format, quality, and destination for your video file, then click Export to create the final version of your video.
Sharing on Social Media or with Friends
Once you have your final video file, you can share it with the world! One popular way to share videos is through social media platforms like Instagram, Facebook, or YouTube. You can upload your video directly from Adobe Premiere Elements to these platforms or save the video file and upload it manually. You can also share your video by sending it directly to friends and family through email or messaging apps.
Conclusion: Becoming a Young Filmmaker with Adobe Premiere Elements
Recap of What We’ve Learned
Throughout this article, we’ve delved into the exciting world of video editing with the help of Adobe Premiere Elements. We learned how to set up the software, import videos, use the timeline feature, add special effects and transitions, enhance the sound quality, and share our creations with others. By mastering these skills, you’re well on your way to becoming a young filmmaker!
Encouraging Continual Learning and Practice
Remember, practice makes perfect! The more you experiment with Adobe Premiere Elements, the better you’ll become at editing videos. Don’t be afraid to try new things and explore different features within the software. Watch tutorials, read books, and keep learning about video editing to enhance your skills even further. Who knows, you might discover a hidden talent for filmmaking that could lead to exciting opportunities in the future!

")
