If there is one thing that all educators can agree on, it is the importance of student engagement in learning. Finding new ways to motivate and engage their students is frequently at the top of most teachers’ to-do lists, but it is not always an easy task.
Well, that was until 3D printing technology became a thing.

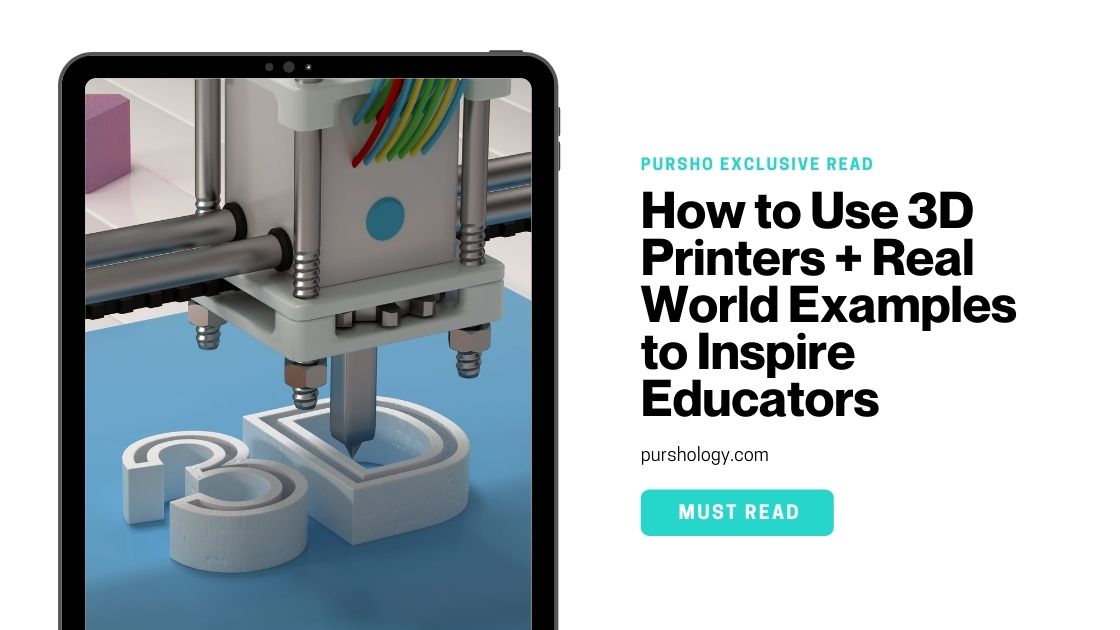
3D printers, which were once considered a novelty in many classrooms, are quickly becoming valuable classroom tools thanks to lower costs, advanced technology, and more products geared toward education.
Most educational concepts can now be brought to life with the help of education-focused 3D printing products, which encourage innovation, experimentation, and the development of practical skills such as design, creative coding, and problem solving. Using 3D printers in the classroom is also an excellent way to get students to learn robotics.
However, if you are new to 3D printing, it can be intimidating. Fear not! This blog post has everything you need to move your 3D-printing goals forward, whether you are diving headfirst into 3D printing projects or your 3D printer is quietly rusting away in your storage closet.
Project Ideas: Real World Examples of 3D Printing Applications in the Classroom
One of the best ways to quickly gain mastery over a new skill is to put in the practice hours. The process becomes even faster when you can draw inspiration from others who have journeyed through the path you are on.
Use these real-world examples of how 3D printing has been used in the classroom to get your creative juices flowing.
● 3D Printing at University of Kentucky
Michael Silver, an architecture professor at the University of Kentucky College of Design and Architecture, had his students create 3D building models, which he then printed and mailed to them.
According to Michael, having a physical model allowed his students to understand their designs better. The best part is that 3D printing transformed the remote class into an immersive experience.
● 3D Printing at University of Massachusetts Lowell
Professor Yuko Oda of UMass Lowell used 3D printing to improve her Animation, 3D Design, 3D Modeling, and Sculpture courses.
Yuko has taught students in the eighth grade how to create a 3D object and print the artwork on a 3D printer.
● 3D Printing at Canakkale Onsekiz Mart University, Turkey
Printed 3D teeth models enable remote dentistry education at Canakkale Onsekiz Mart University in Turkey, in the same way that Professor Michael of Kentucky used 3D printing technology to make his remote class engaging.
Making Your Own Creation: The Step-by-Step Process of 3D Printing
Now that you have some ideas for your project, it is time to begin the creation process. Please keep in mind that the steps outlined below are the basics and apply to all types of 3D printers of any size or shape.
Step 1: Designing Your Model
For the design process, you will need to create a 3D blueprint. Manually drafting your designs is the more traditional option, but if you want to bring your design to life much faster, you will need a 3D design creation software, also known as CAD (Computer-Aided Design).
CAD software, such as SelfCAD, is top-of-the-line software that allows you to easily create excellent 3D visualizations, product designs, and run simulations. Because you’re just getting started, you can start with a basic program and progress to more advanced packages as your skills improve.
Because the range of functions and commands you will be using is unique to SelfCAD, refer to the demo guide available on the website for the exact process of creating your first design in the SelfCAD software.
Step 2: Getting Your Printer Ready
When you’ve finished creating your 3D blueprint, it’s time to set up the printer.
Refill the raw material. This could be metal powders, plastics, or binding solutions, depending on the type of 3D printer you have.
Clean the build platform and, if necessary, apply an adhesive to prevent warping and movement as the printer heats up during use.
Step 3: Setting Up for Slicing
Before you can build your 3D design, it must be sliced into layers that the printer can understand.
What exactly is 3D slicing? Slicing in the context of 3D printing is very similar to what you do at a “dialogue box” when using a regular printer. That is, selecting margin width, paper type, and so on.
In the case of 3D printing, you use slicing software to configure the variables and parameters (fill pattern, print size, support type, and more) that will determine how your printed 3D model appears.
In other words, slicing a 3D model for printing entails defining how each layer of your design will be printed.
Pro Tip: Each 3D printer brand is designed to be used only with its own proprietary slicing software, so make sure you get the correct software.
Step 4: Sending File to Print
The last step in the 3D printing process is to export your file for printing. There are various file formats available, but many people prefer to export their file as an.stl file.
When you send the file to print, the prompt that appears depends on the software and printer you are using, but in general, you will be asked to run a repair check. Alternatively, the prompt could be to add details to the model, such as a “raft” at the bottom, and so on.
Once you’ve sorted out all of the details, you can click the print or slice button. The printing process will begin immediately if your 3D printer is connected to your computer. If it isn’t, you’ll need to save the file to an external drive, which you’ll need to connect directly to the printer before you can begin printing.
Now, the Best Part: Watch Your 3D Model Come Alive
A 3D printer functions similarly to a robotic hot glue gun. The printer can move forward and backward, side to side, and up and down.
Watching as the printer moves as it renders your model in physical form is probably the most exciting part of the 3D printing process. Isn’t it a technological marvel how raw material plastics are used to shape the most inventive designs? Playdough and Legos are fantastic, but 3D technology is unrivaled!

")
