In the business world, slide decks are all-pervasive. And Google Slides is gaining rapid prominence as one of the most excellent tools for designing slide decks. It comes with your free Gmail account and is cloud-connected so that you can access all of your presentations from any device.

Tables are frequently used in presentations to communicate data-related insights or even as a visualization tool if formatted well. Adding a table to a slide and formatting them is one of the simplest ways to structure information in an easy-to-digest style. However, tables can be notoriously difficult to tame in a way that they don’t appear too technical and are intuitive to understand.
While tables are basic charts comprised of columns and rows, their simplicity can be deceiving. When used cleverly, they can be deployed for various purposes, ranging from content sorting to data comparison.
In this Google Slides tutorial, we will walk you through how to perform formatting in tables in Google Slides Presentations.
Working With Tables In Google Slides
Tables are just data that has been presented or organized in rows and columns. Tables can be used to showcase a variety of data. Tables are employed in every aspect of the business. Tables can be found in corporate budgets, sales reports, product inventories, restaurant menus, and various other places. They are one of the most practical methods of presenting essential facts and numbers. As a result, it’s no surprise that they’ve become a design staple for business presentations.
How To Do Table Formatting In Google Slides?
Now, let’s move on to a fantastic tutorial for table formatting in Google Slides.
Text Formatting
Step 1 – First of all, create a table on the required slide.Insert > Table
Step 2 – Adjust the table on the slide, and insert text in the cells.
Step 3 – Select the text and format as per your requirement. (Google Slides offers multiple text formatting options such as Bold, Italics, Strike-through, Size, Colour and many more)
Format > Text
Alignment and Indentation
Step 1 – Firstly, create a table on the required slide.Insert > Table
Step 2 – Adjust the table on the slide, and insert text in the cells.
Step 3 – Align and indent the text in your table.
Format > Align and Indent
Note:- If you only want to adjust the alignment and indentation of a specific row, column, or cell, then just select that and follow the same.
Line Spacing
Step 1 – Firstly, create a table on the required slide.Insert > Table
Step 2 – Adjust the table on the slide, and insert text in the cells.
Step 3 – Select the text and adjust the line spacing with the available options.
Format > Line spacing
Step 4 – You can also customize the line and paragraph spacing as per your requirement.
Format > Line spacing > Custom spacing > Input the values > Apply
Bullet Points
Step 1 – First of all, create a table on the required slide.Insert > Table
Step 2 – Adjust the table on the slide, and insert text in the cells.
Step 3 – Add bullet pointers to the required cell.
Format > Bullets and numbering
Step 4 – You can select among the Bulleted list and Numbered list as per your preference.
Insert/ Delete Rows and Columns
Step 1 – First of all, create a table on the required slide.Insert > Table
Step 2 – Adjust the table on the slide.
Step 3 – Google Slides allows you to perform a variety of insertion and deletion operations of the rows and columns of your table.
Format > Table > Select the suitable option
Borders and Lines
Step 1 – Firstly, create a table on the required slide.Insert > Table
Step 2 – Adjust the table on the slide.
Step 3 – You customize the Border color, Border weight, and Border dash of your table.
Format > Borders and lines > Select the suitable option
Clear Formatting (To undo all the changes)
Step 1 – Firstly, select the created table.
Step 2 – Do clear formatting to undo the table changes.
Format > Clear Formatting
So, this was the complete table formatting tutorial for Google Slides. Above all, we hope you find this tutorial useful in the future as you create new presentations. If you are still confused with any of the steps, then you can check out our video tutorial for the same.
To narrow down your concerns and save your time and effort, SlideUpLift offers captivating Google Slides table templates that will help you design professional-looking business presentations in no time.
With these simple-to-edit Google Slides templates, you can quickly create compelling business presentations. All of the designs have a professional appearance and exude confidence; feel free to use them for your presentation requirements.
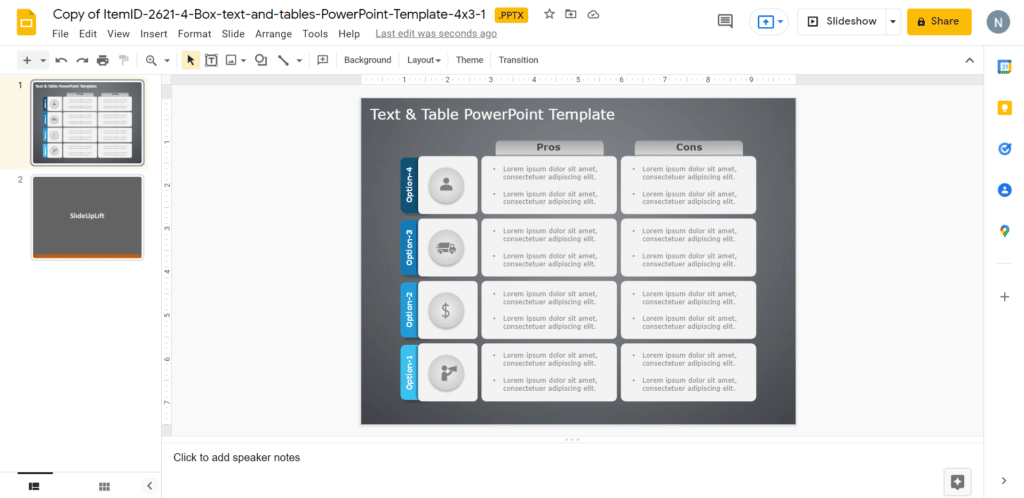
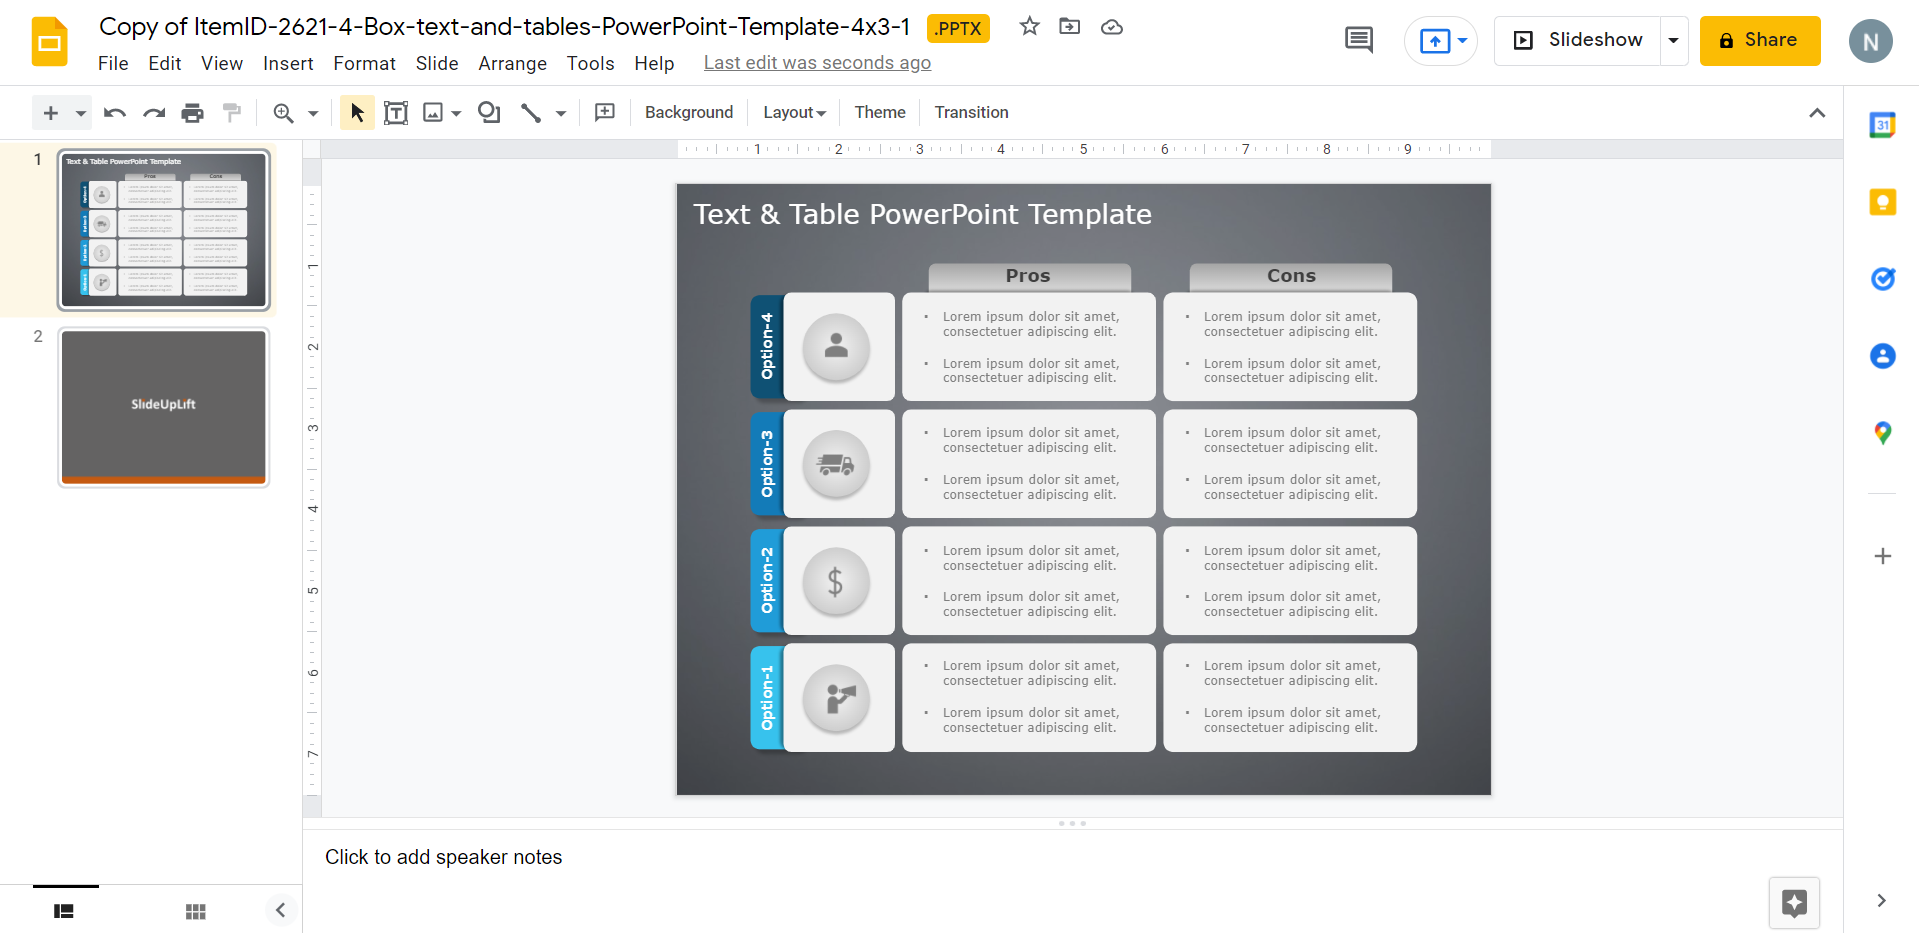
Pros & Cons PowerPoint
Source: Pros & Cons PowerPoint by SlideUpLift
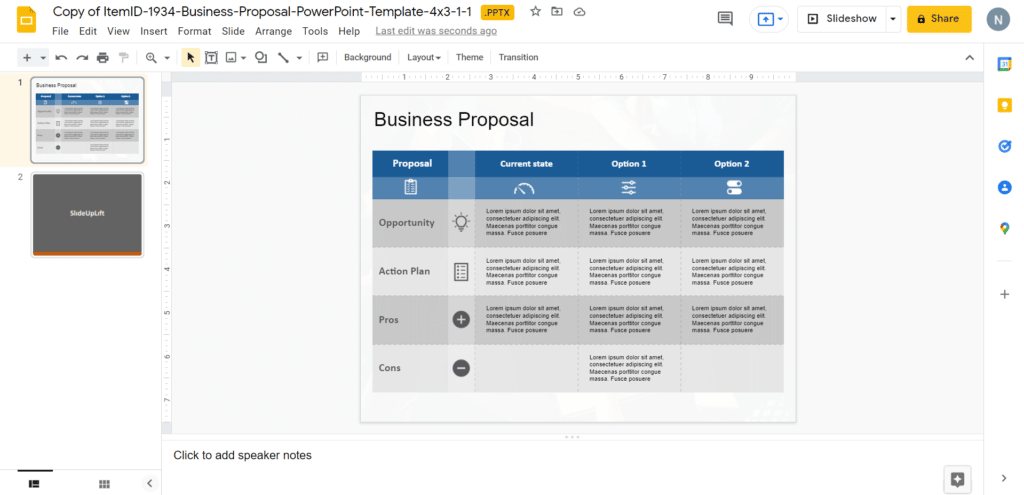
Business Proposal Executive Summary
Source: Business Proposal Executive Summary by SlideUpLift
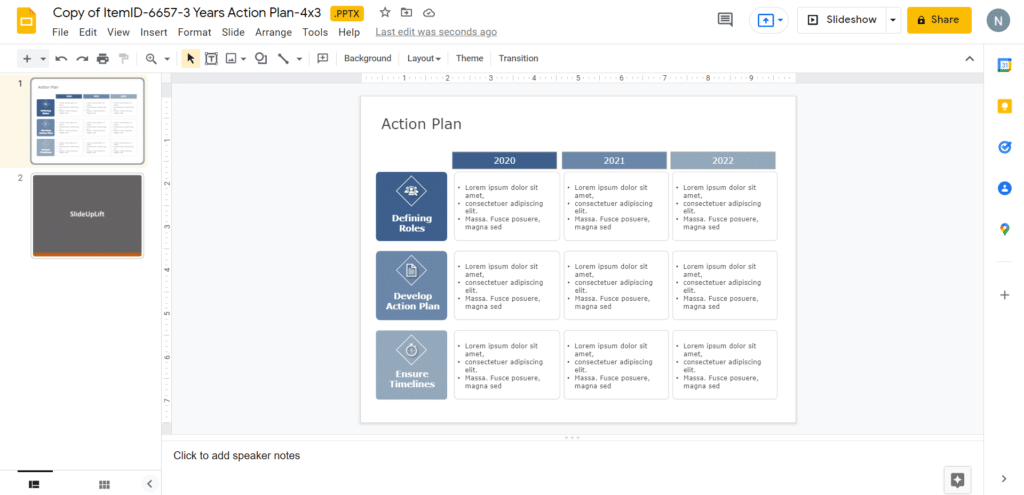
Action Plan
Source: Action Plan by SlideUpLift
Looking For Powerpoint Design Agency?
Call Pursho @ 0731-6725516
Telegram Group One Must Follow :
For Startups: https://t.me/daily_business_reads
#Learn #Table #Formatting #Google #Slides

