
Are you a regular user of Google Slides?
Try Free Google Slides Templates

Google Slides is an incredible presentation tool that enables you to craft proficient, eye-catching business presentations. This tool offers users a variety of ways to enhance their presentations, including the ability to add borders. Adding borders can help to emphasize anything you want to stand out in your google presentations and this Google slides tutorial you will learn how to add a border in Google slides
Borders for Google Slides can be added to the slide design, text boxes, and shapes, and they can be customized to suit your needs.
By using borders, you can ensure that your audience will be able to see and focus on the most important information in your presentation.
Benefits of adding borders in Google Slides
- Borders allow you to highlight the text in your presentation in a more presentable manner.
- Adding borders to text boxes and shapes can make your presentation more visually appealing and help draw attention to important information.
- Borders can also be used to frame images and other graphical elements in your presentation.
- A border around a slide element is a great way to make it pop from the other slide content!
- You can customize the color, thickness, and type of border to suit your needs.
Borders are a simple way to add interest and appeal to slides without taking up too much space or being overly complicated. When used correctly, they can help to make a presentation more visually appealing and easier to follow.
How to add a border to a slide in Google Slides?
Here are the steps that will teach you:
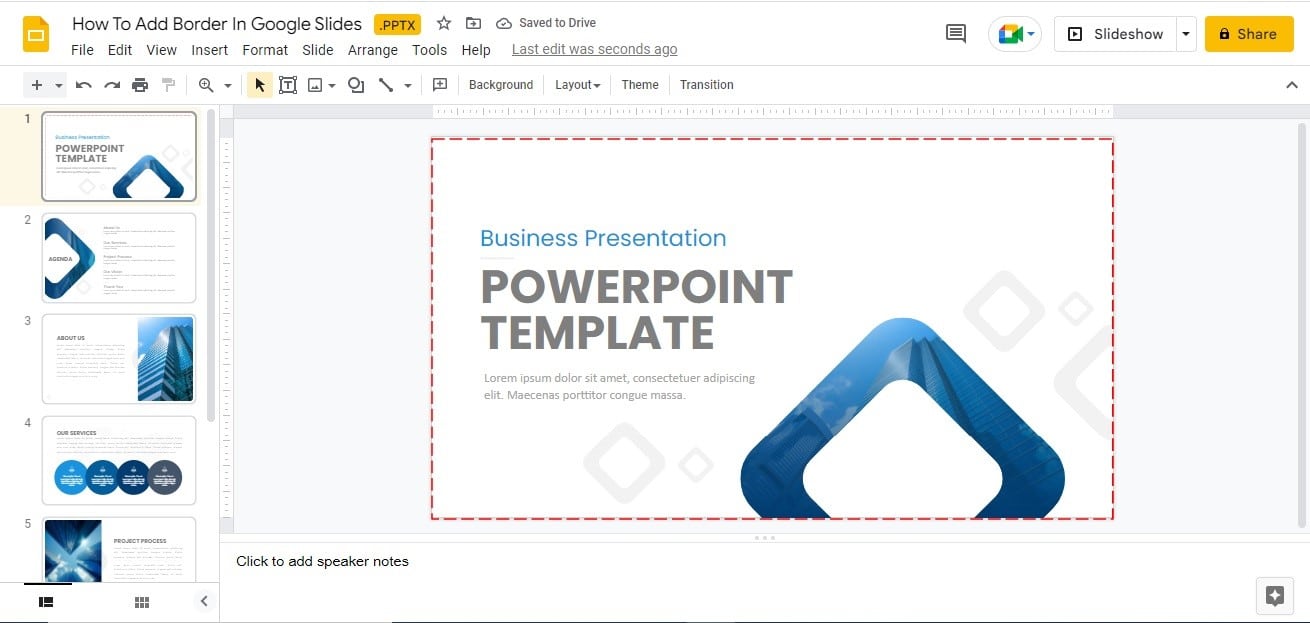
Step 1: Firstly, open your presentation and select the desired slide.
Step 2: Now, go to the “Insert” tab and select the “Shape” icon.
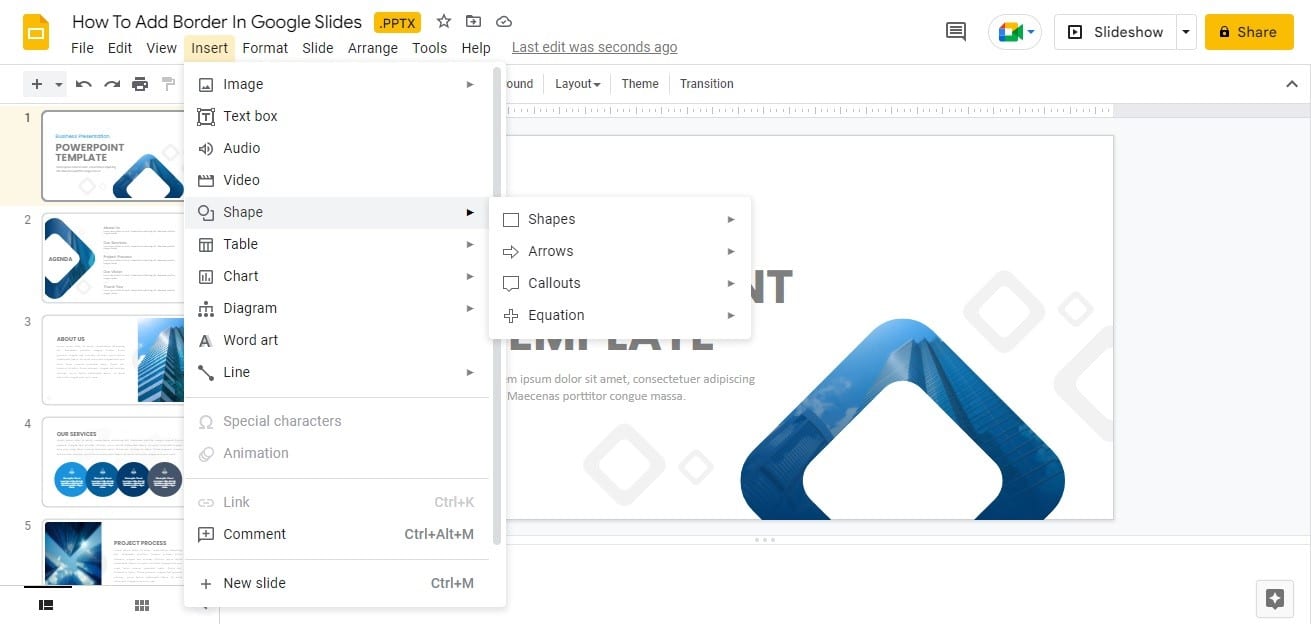
Step 3: After that, select the “Rectangle” option.
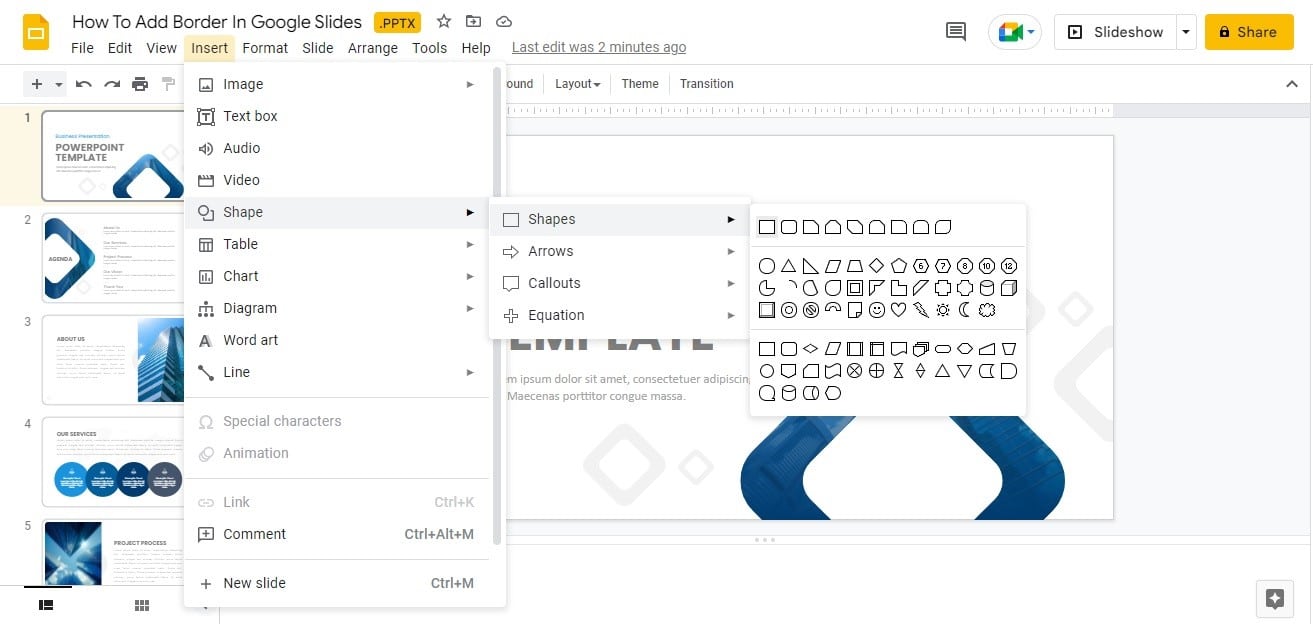
Step 4: Create a frame for the slide by outlining it with a rectangle.

Step 5: Now, hover over the “Format” tab, and there you need to click on the “Line” option.
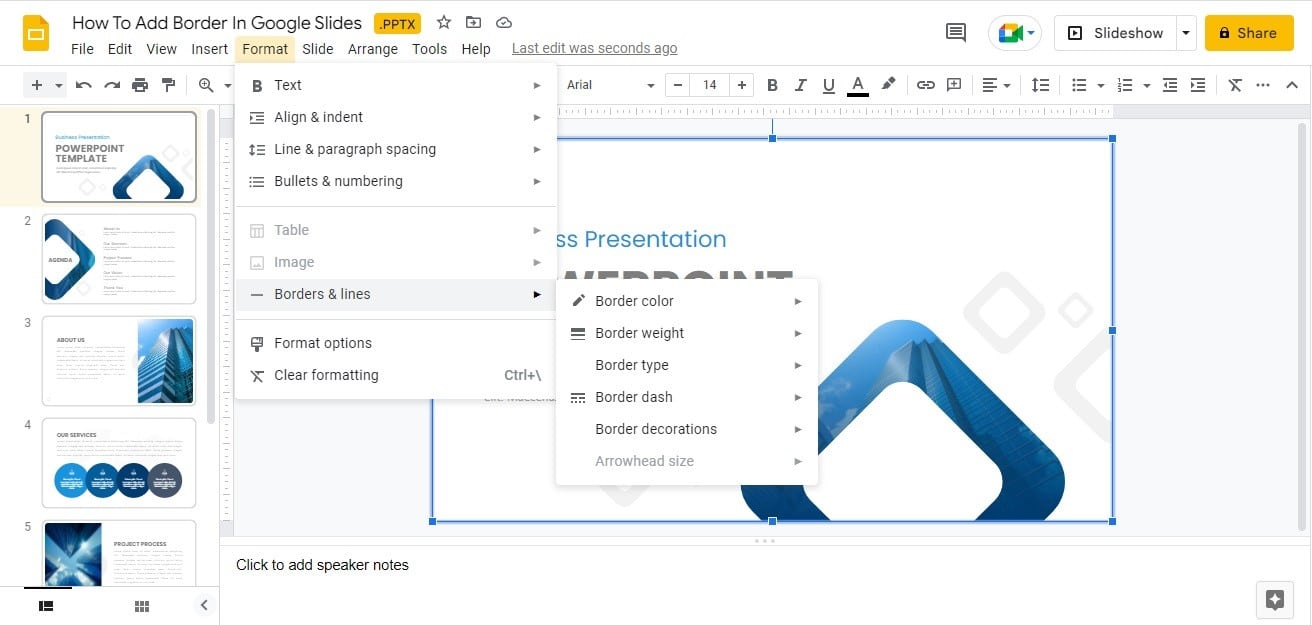
Step 6: From here, you can customize the color, style, and thickness of the border as per your preferences.
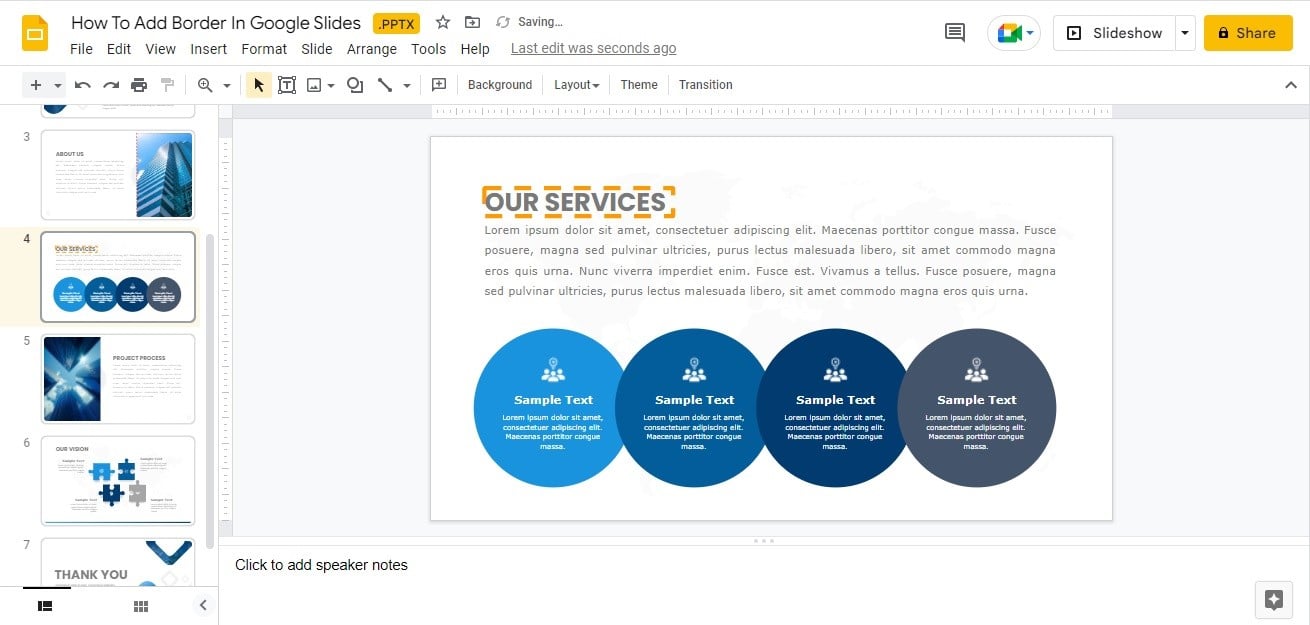
Step 7: That’s it! Your border will now be visible on the slide.
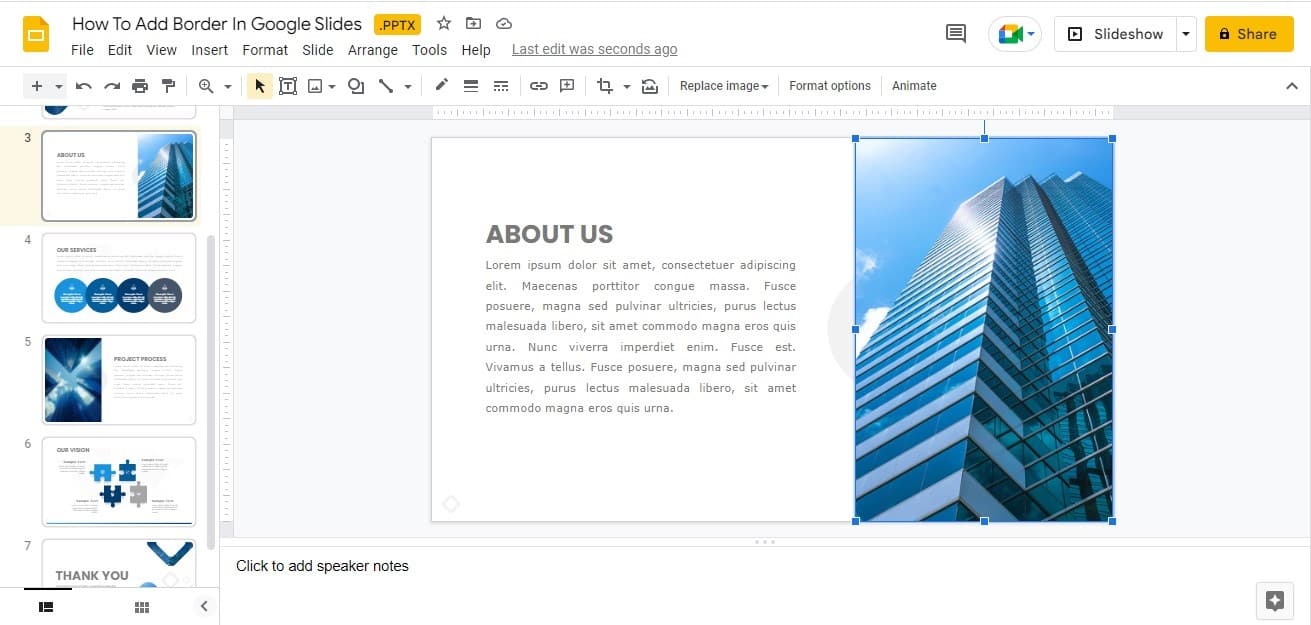
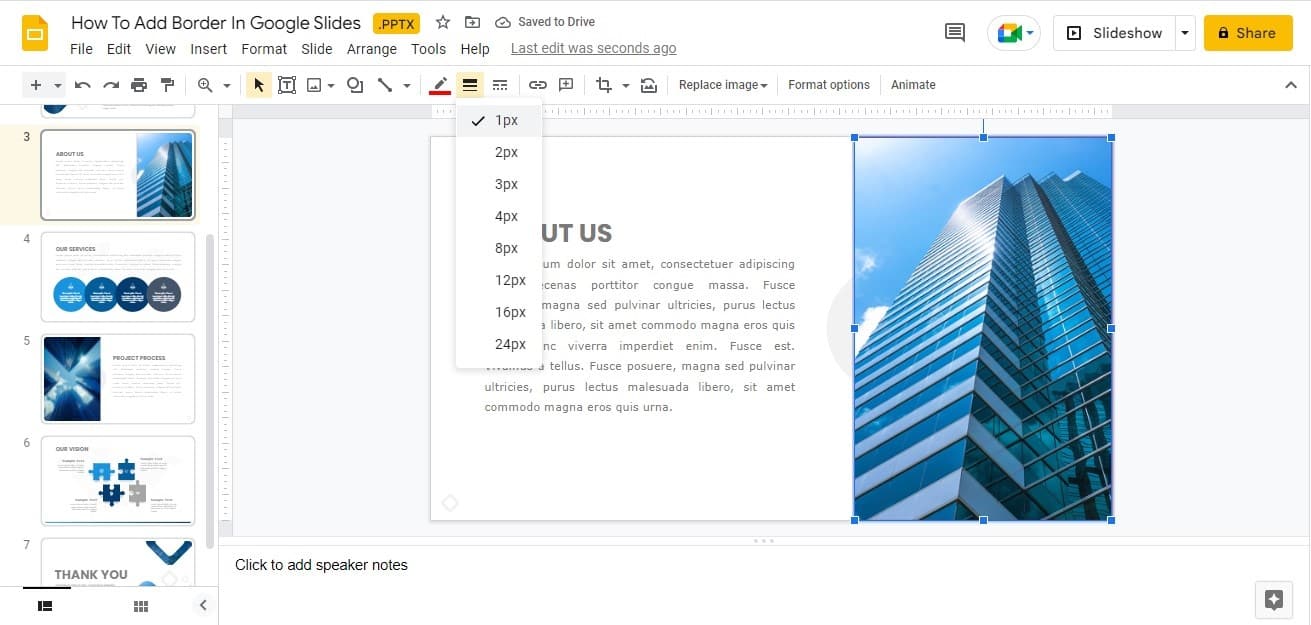
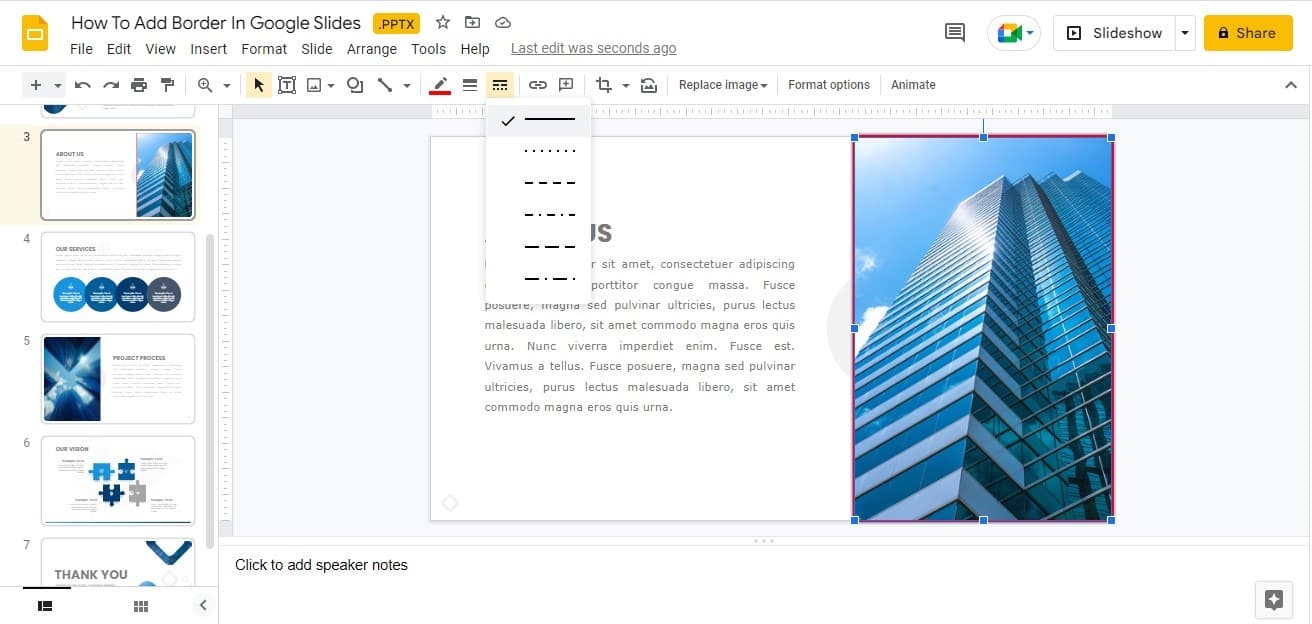
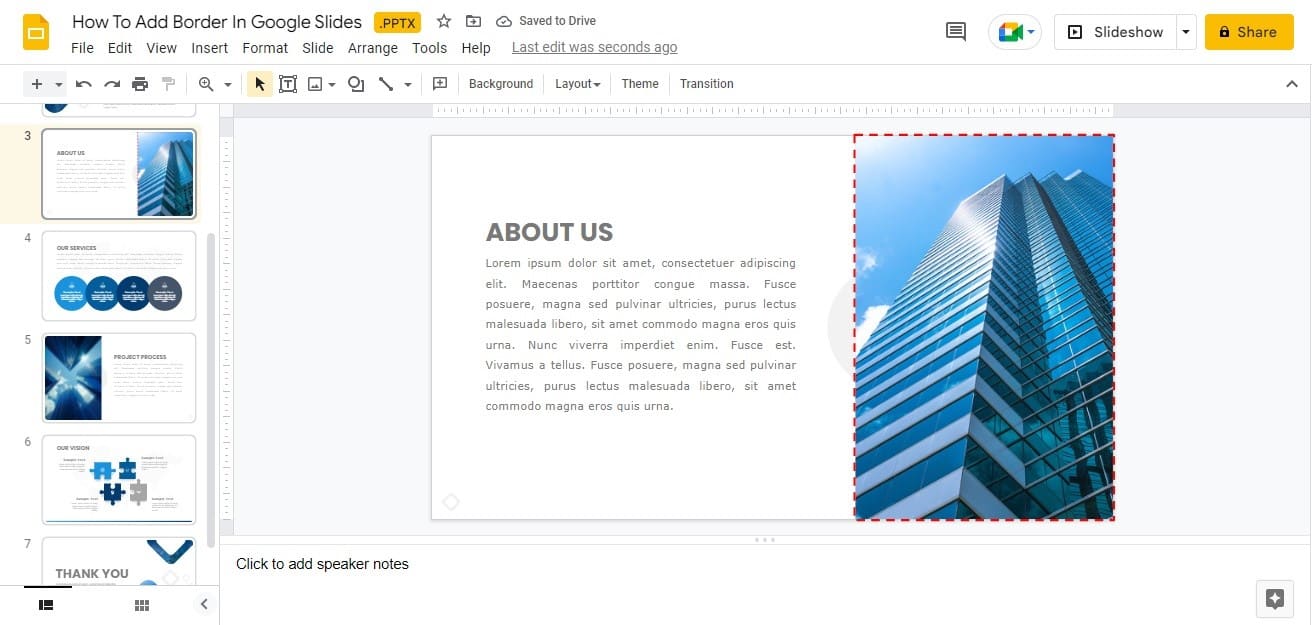
How to add a border to an image in Google Slides?
Adding a border to a picture in Google Slides is a simple process that can add some visual interest to your slide. If you are wondering how to add a border to a picture in google slides, here are the steps to follow:
Step 1: Open the Google Slides presentation.
Step 2: Now, select the desired image.
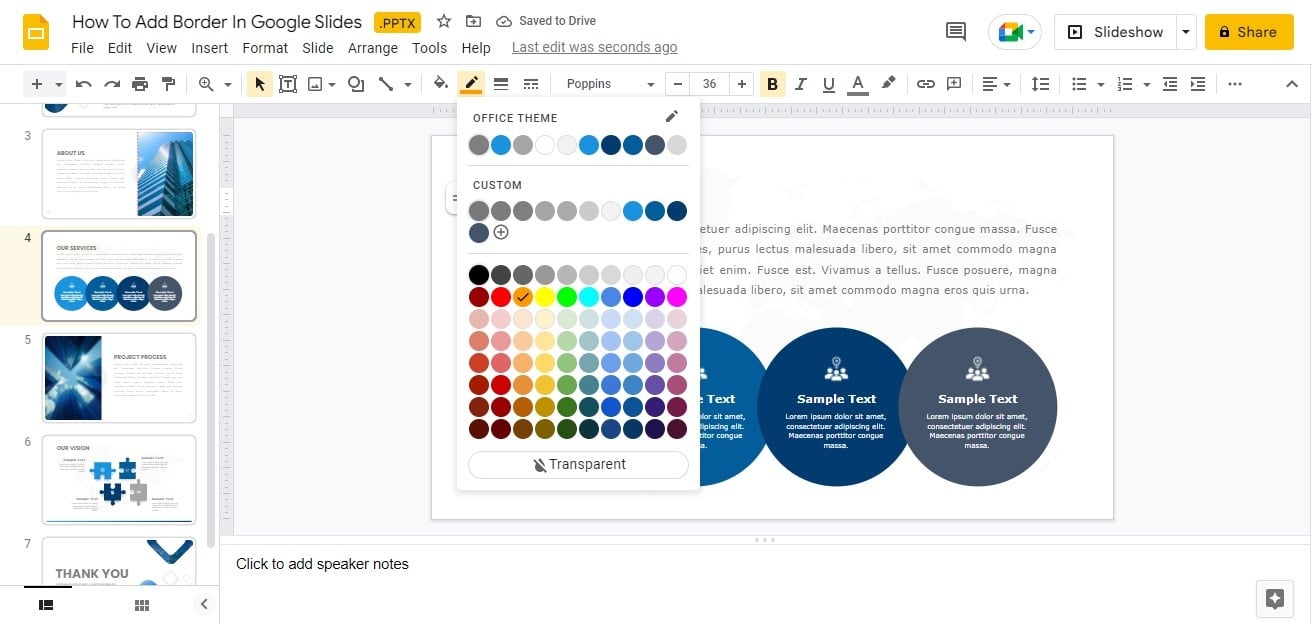
Step 3: Tap the “Border color” icon in the toolbar hovering above the slide.
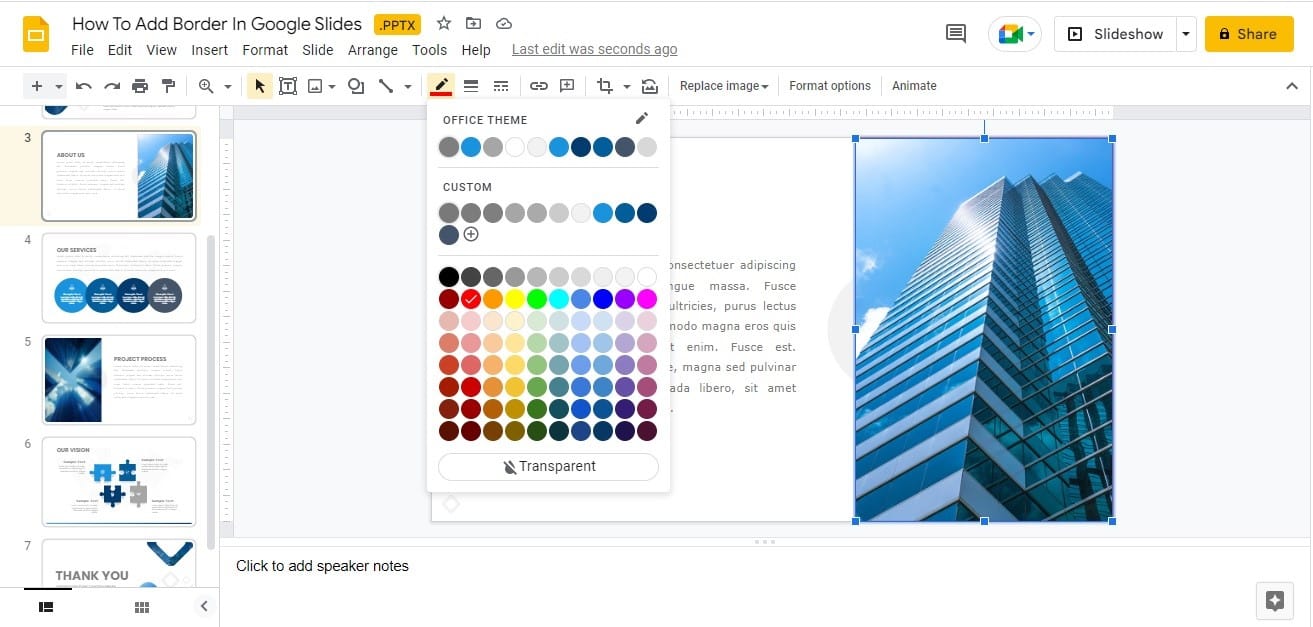
Step 4: Choose the color of the border that speaks to you!
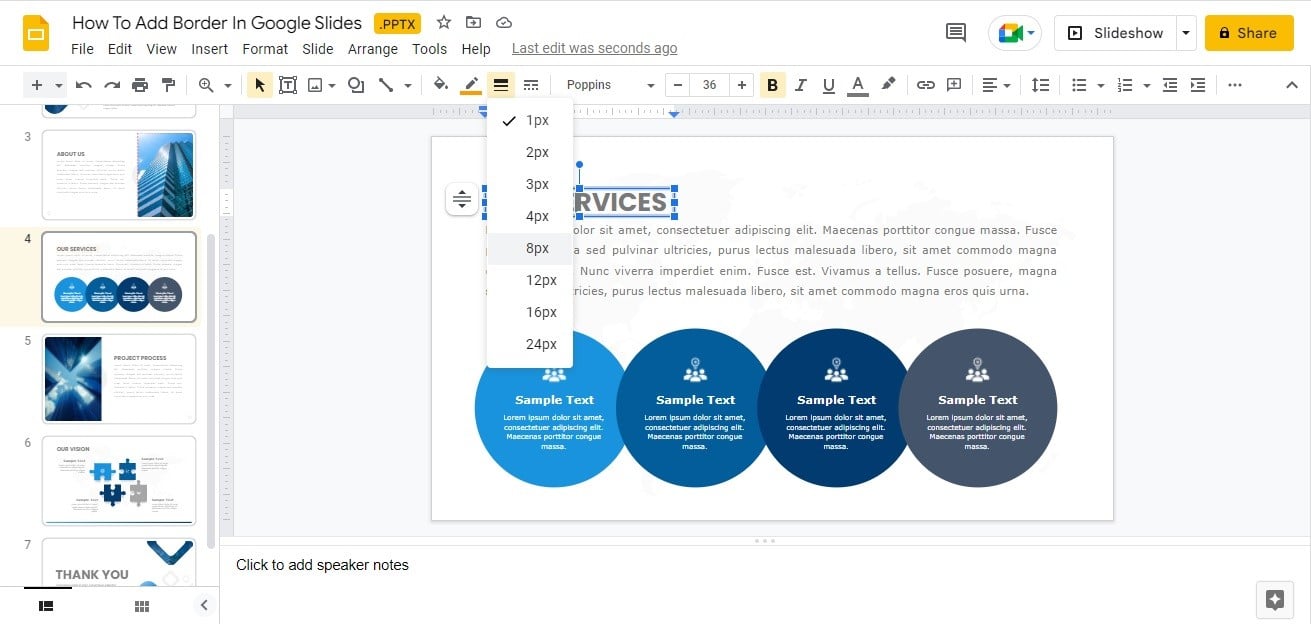
Step 5: (Optional) Change the thickness by clicking the “Border weight” button on the toolbar and selecting the width.
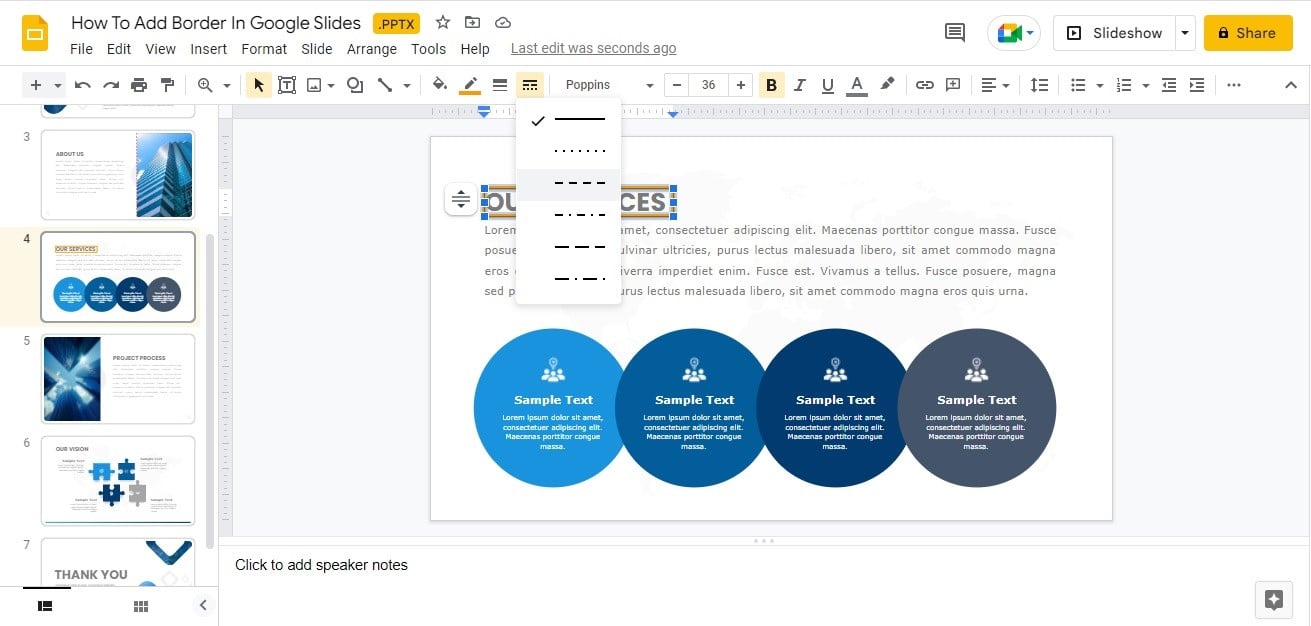
Step 6: (Optional) Clicking the “Line dash” button in the toolbar will give you the power to switch up your border style to whatever suits your fancy!
Step 7: (Optional) To remove a border, click the “Border color” button and select “Transparent.”
Create Eye Catching Presentations Using
Google Slides Templates
How to add a border to a Text Box or Other Element in Google Slides?
By adding a border around text or any other element on a slide, you can make it stand out and catch the eye!
To put a border around the text box or other elements in your Google Slides presentation:
Step 1: Click on the text box or the element.
Step 2: Press the Border color button on the toolbar for a hint of color!
Step 3: Select your border color.
Step 4: (Optional) Click Line weight. to adjust the border thickness.
Step 5: (Optional) Click Line dash. to change the border type.
How To Remove Text Box Borders In Google Slides?
If you wish to remove a text box border in Google Slides, you just need to follow the following steps:
Step 1: Select the border around the text box which you wish to remove.
Step 2: Go to Format > Borders and Lines, click on Border color and select Transparent.
Watch this video for a better understanding of the tutorial
Wrapping It Up
Adding borders in Google Slides is a simple way to make your presentations stand out. We hope you understood the complete process of how to make a border on Google Slides. You can also browse through some amazing filters you can apply to pictures in Google Slides to make them more visually appealing.
Google Slides Border can be a great way to make your presentation more visually appealing and professional. With a few quick clicks, you can add a simple border or a more complex one to any object in your Google Slides presentation.
Looking For Powerpoint Design Agency?
Call Pursho @ 0731-6725516
Telegram Group One Must Follow :
For Startups: https://t.me/daily_business_reads
#Add #Border #Google #Slides

