Selling products online through ClickFunnels? Then chances are you’re capturing a lot of contact information through the different pages and funnels you’ve set up. But if your sales team also uses Salesforce to reach out to prospects and customers, you’re probably spending too much time copying and pasting leads from one app to another.

We’ll show you how to create a Zap—our word for the automated workflows you create with Zapier—that will automatically create leads in Salesforce based on ClickFunnels contact activity. You’ll have more time to focus on what matters the most, like converting those prospects or fostering customer loyalty.
Salesforce is a premium app—available on Zapier’s paid plans. Learn more about premium apps.
Option 1: Get started quickly with a Zap template
If you’d rather have us do the heavy lifting, we have a template to help you get started quickly. Click on the template below, and you’ll be guided through setup. You’ll need to create a Zapier account if you don’t already have one.
Here’s how it works:
-
Click on the Zap template.
-
Connect your ClickFunnels account and select which funnel we should watch for new contacts. (You can also choose all funnels.) You should then select which funnel step we should watch for new contacts, if applicable.
-
Connect your Salesforce account and pick what kind of object you want to create. By default, “Leads” should already be selected.
-
Decide how you want leads to appear in Salesforce by mapping the contact fields from ClickFunnels to Salesforce.
-
Test your workflow and turn it on.
Option 2: Create your own Zap
If you’d like more control over information in your Zap or would like to add additional actions such as filters, you can click here to create a new Zap from scratch.
We’ll walk through these steps in detail for ClickFunnels and Salesforce, but most of the steps in this tutorial will still apply for lead management in other CRMs.
Set up your ClickFunnels trigger
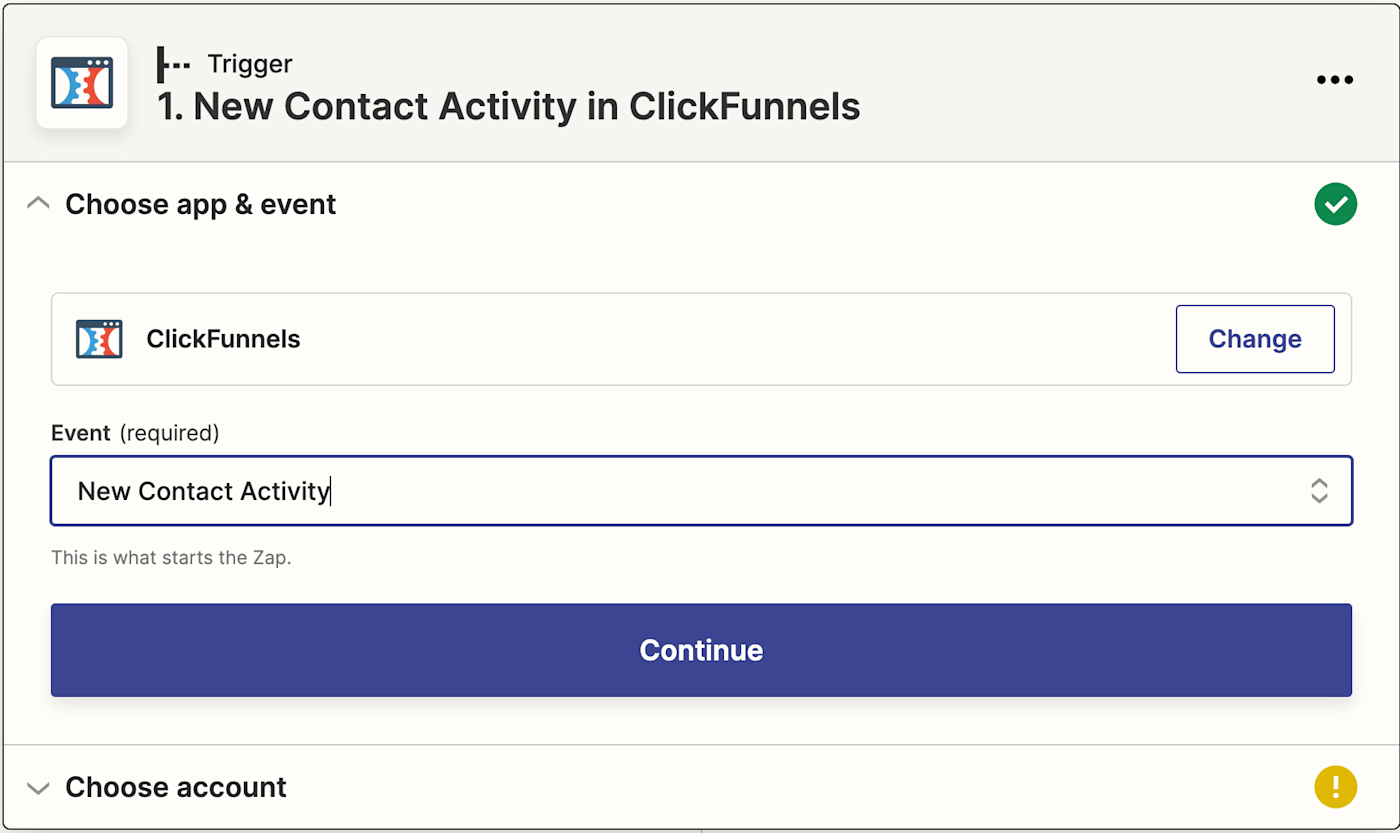
Once you’re in the Zap editor, you’ll first need to create the trigger, which is the event that will kick off your Zap. Search for and select ClickFunnels as the trigger app. Select New Contact Activity as the trigger event. Click Continue.
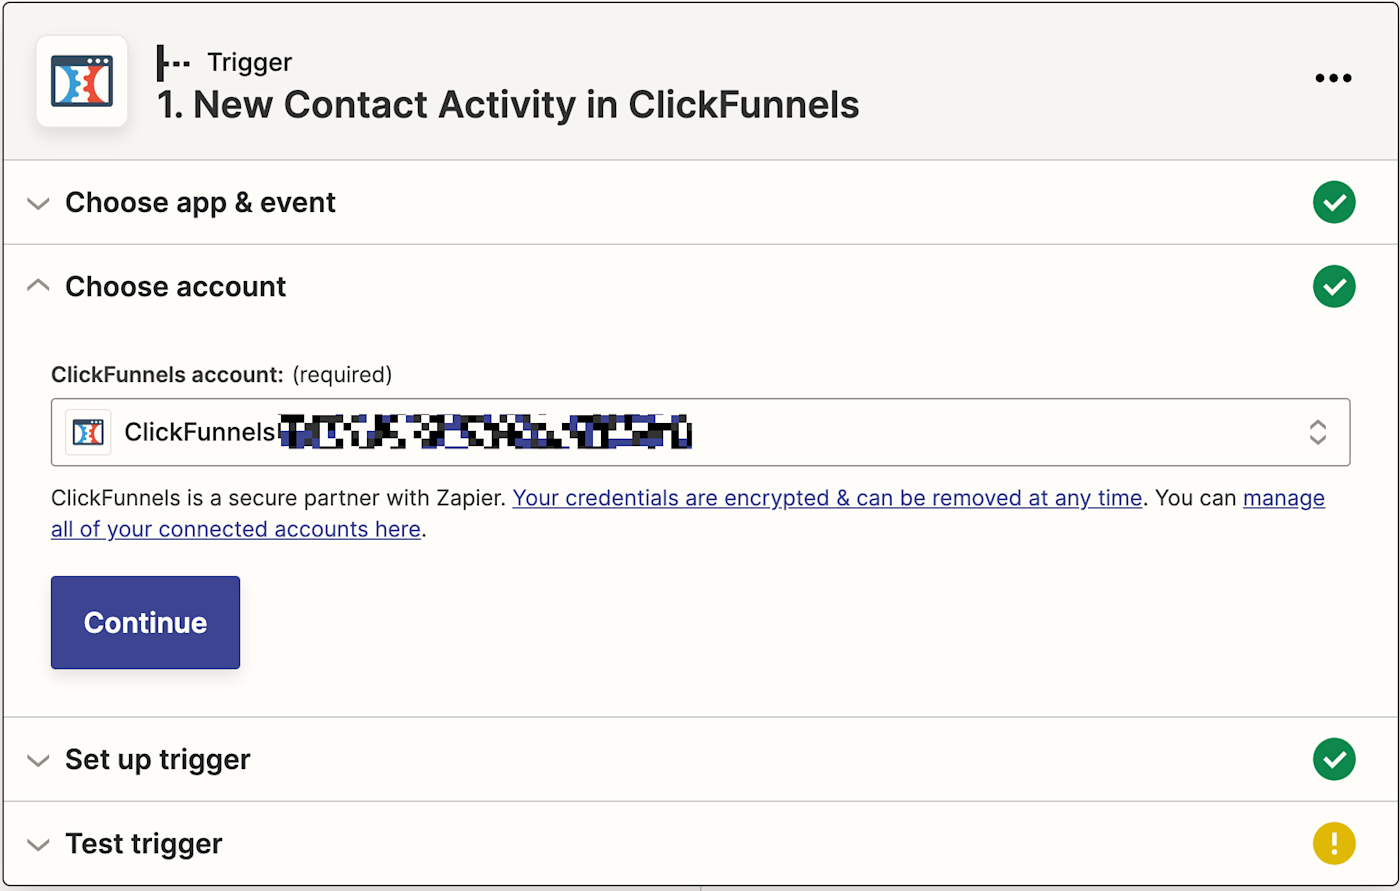
Next, connect your ClickFunnels account to Zapier by clicking on the dropdown menu and selecting +Connect a new account. You’ll need to give Zapier permission to access your ClickFunnels account. Click Continue.
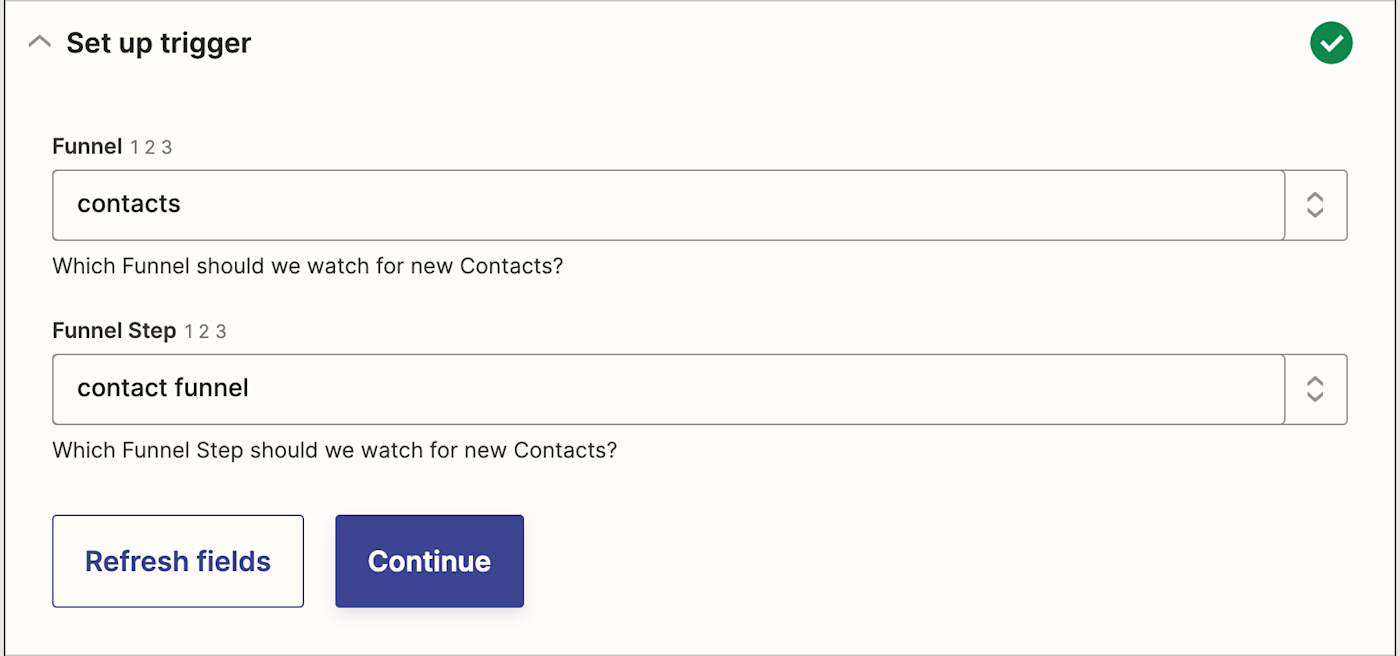
Next, it’s time to set up the trigger. In the ClickFunnels Funnel field, pick the funnel you want Zapier to watch for contacts any time there’s a new one. In this example, we’ll select contacts, but you can also select all funnels. Next, in the Funnel Step field, pick which funnel step you want Zapier to watch for new contacts. Click Continue.
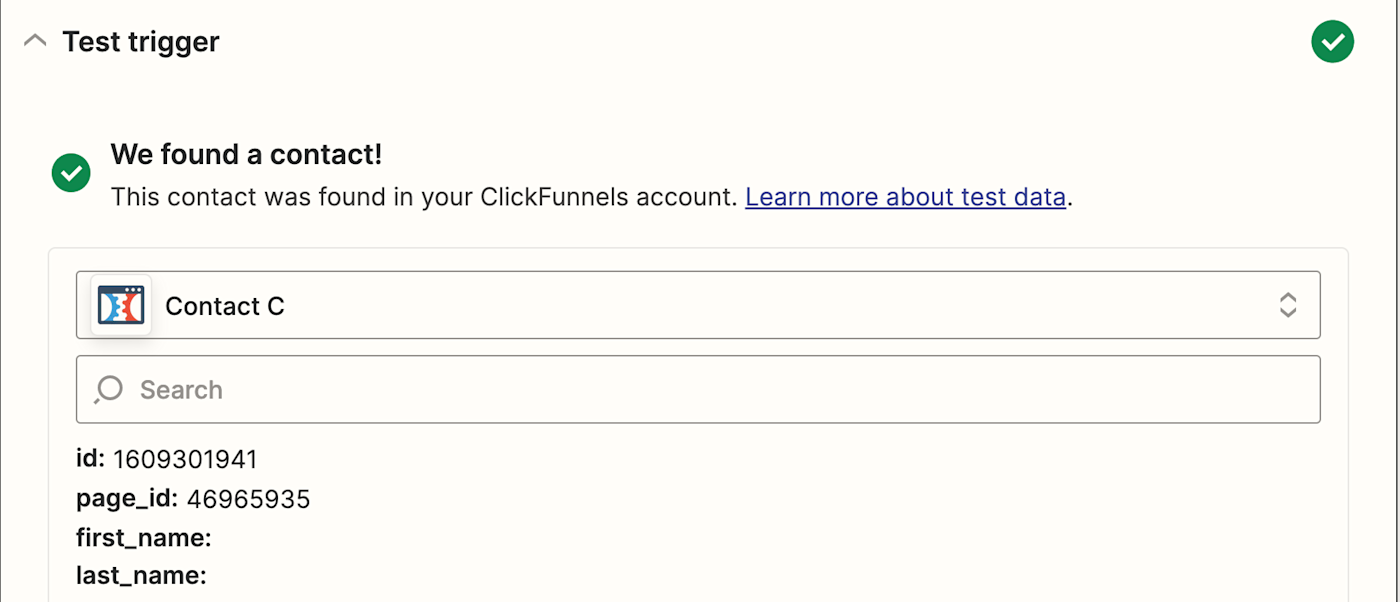
Next, click Test Trigger so Zapier will pull the most recently created contact in your ClickFunnels account. Click Continue.
Set up your Salesforce action
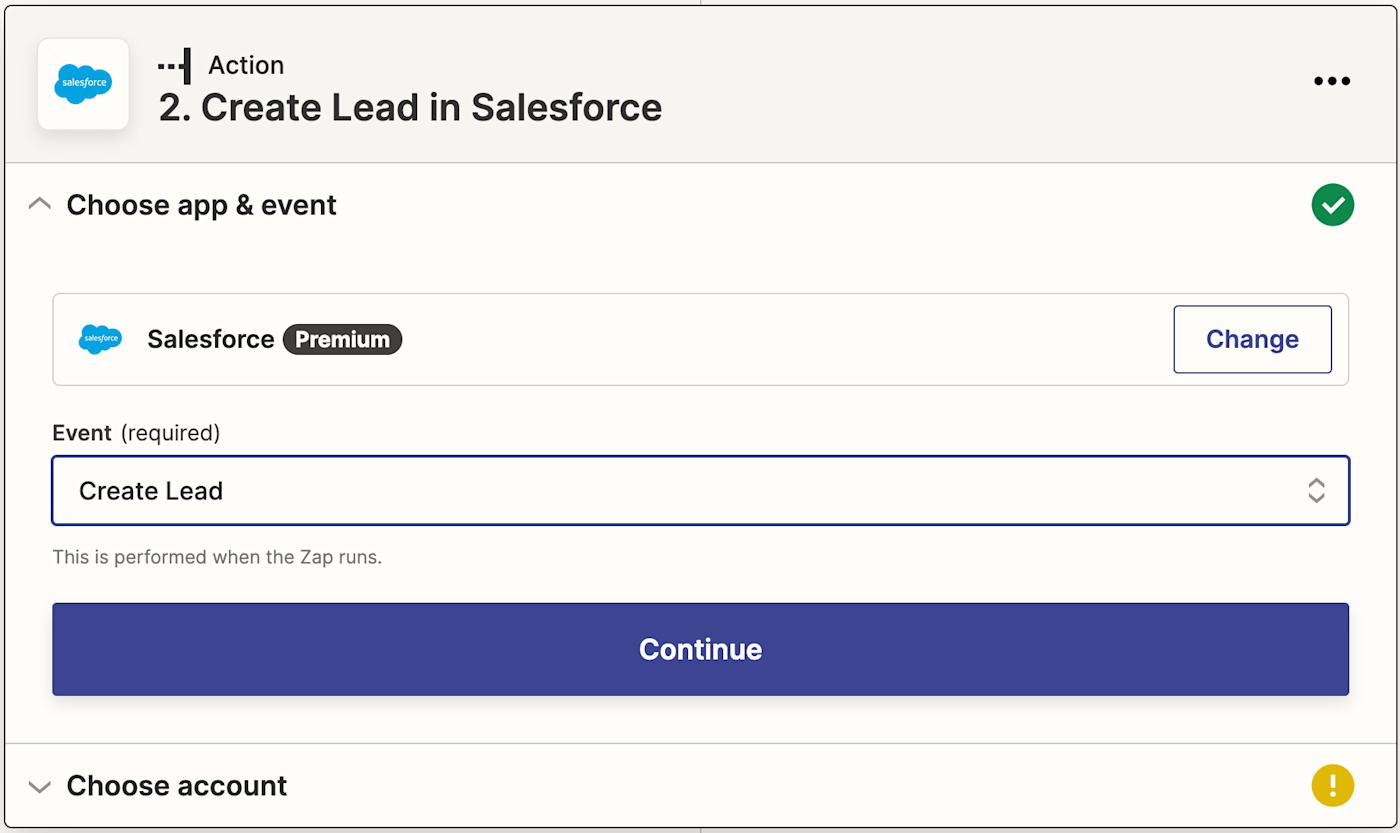
In this next step, you’ll set up the action—the event your Zap will perform once it’s triggered. Search for and select Salesforce as your action app, select Create Lead as the action event, and click Continue.
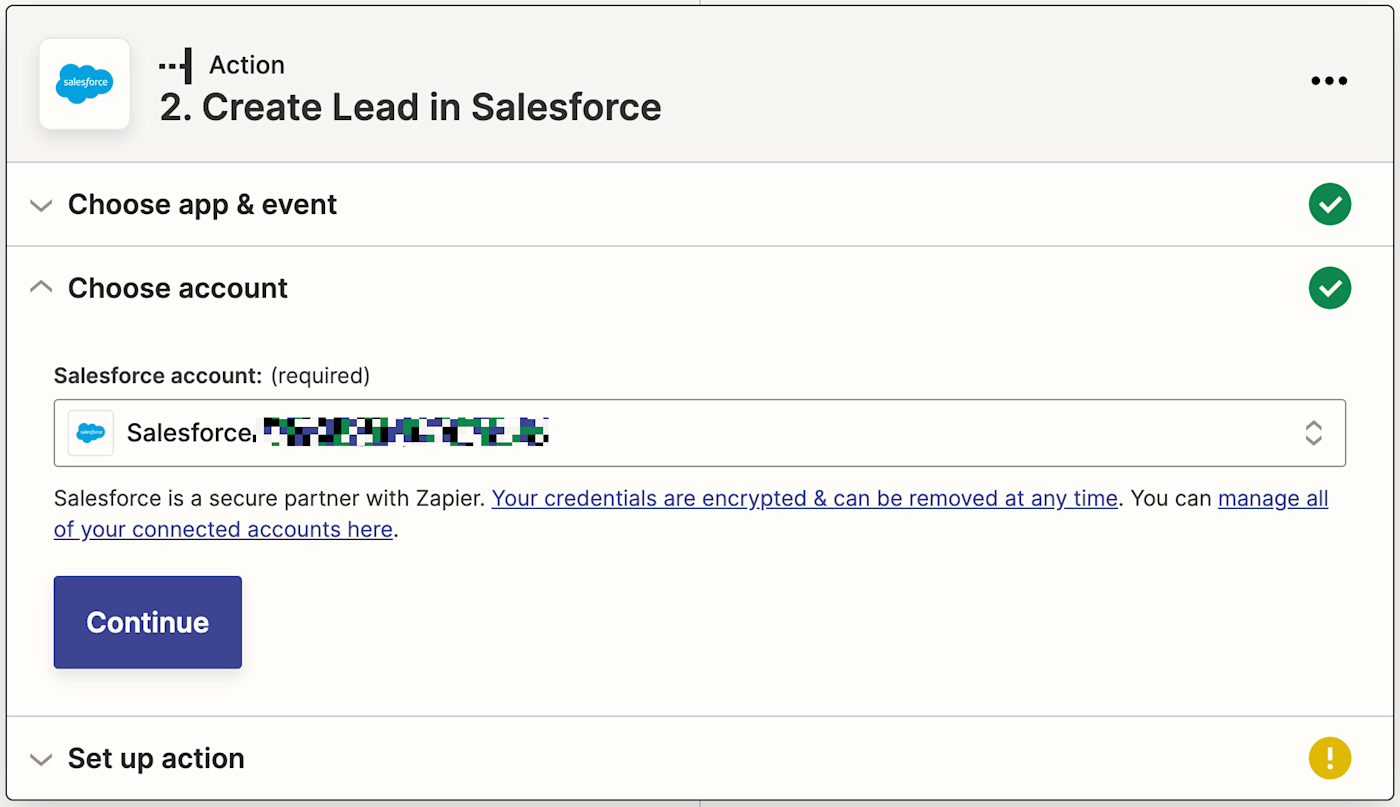
Next, connect your Salesforce account to Zapier by clicking on the dropdown menu and selecting +Connect a new account. You’ll need to give Zapier permission to access your Salesforce account. (Note: You may have to first log in to Salesforce in Zapier’s pop-up window.) Once you’ve connected your account, click Continue.
Customize how your Salesforce lead is set up
Now you need to tell your Zap how to set up your Salesforce leads. You can map the contact data from ClickFunnels by clicking inside any empty field where you want the data to go (such as inside the Last Name and First Name field) and selecting an option from the Insert Data dropdown menu.
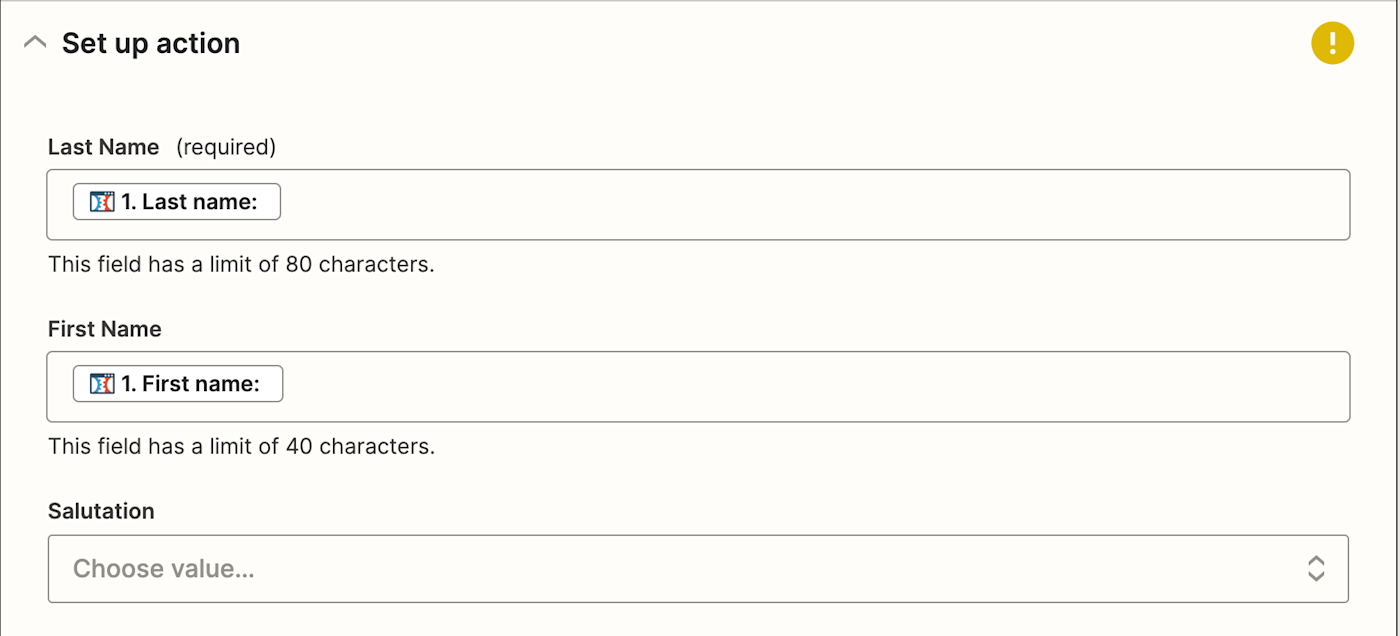
To make the lead in Salesforce as detailed and helpful as possible, you can also pull in data like salutation, middle name, suffix, and the record type. If your contacts in ClickFunnels also include details like company (this field is required), company information, address, phone number, and email address, you can pull those in too.
You can also add important lead information, like lead source (where the lead came from, like a phone inquiry), lead status (whether or not they’ve been contacted), industry, and rating (hot, warm, cold), etc.
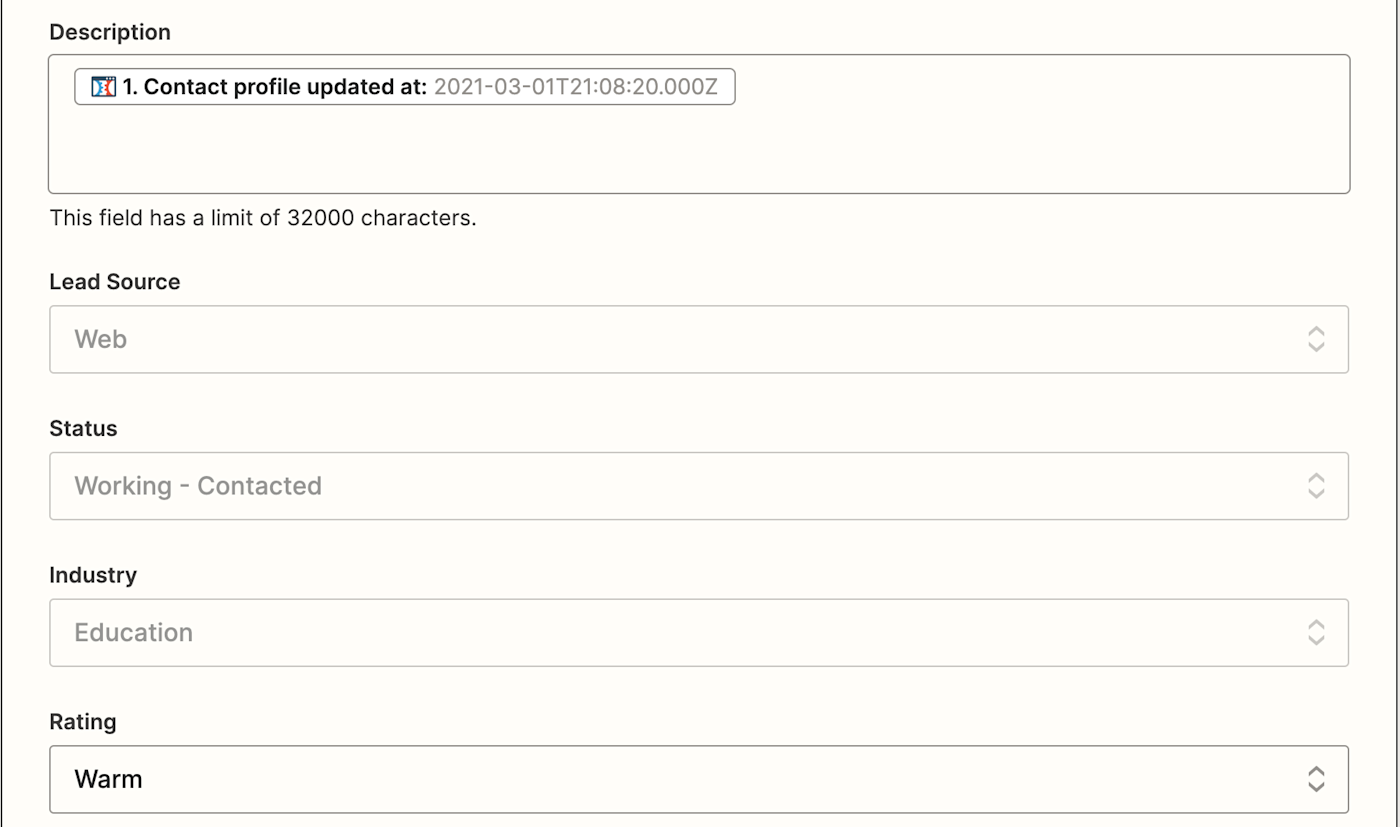
When you’re done setting up your lead information, click Continue.
Test your Zap and turn it on
Next, you’ll need to test your Zap. Zapier will show you a preview of the Salesforce lead before it’s added.
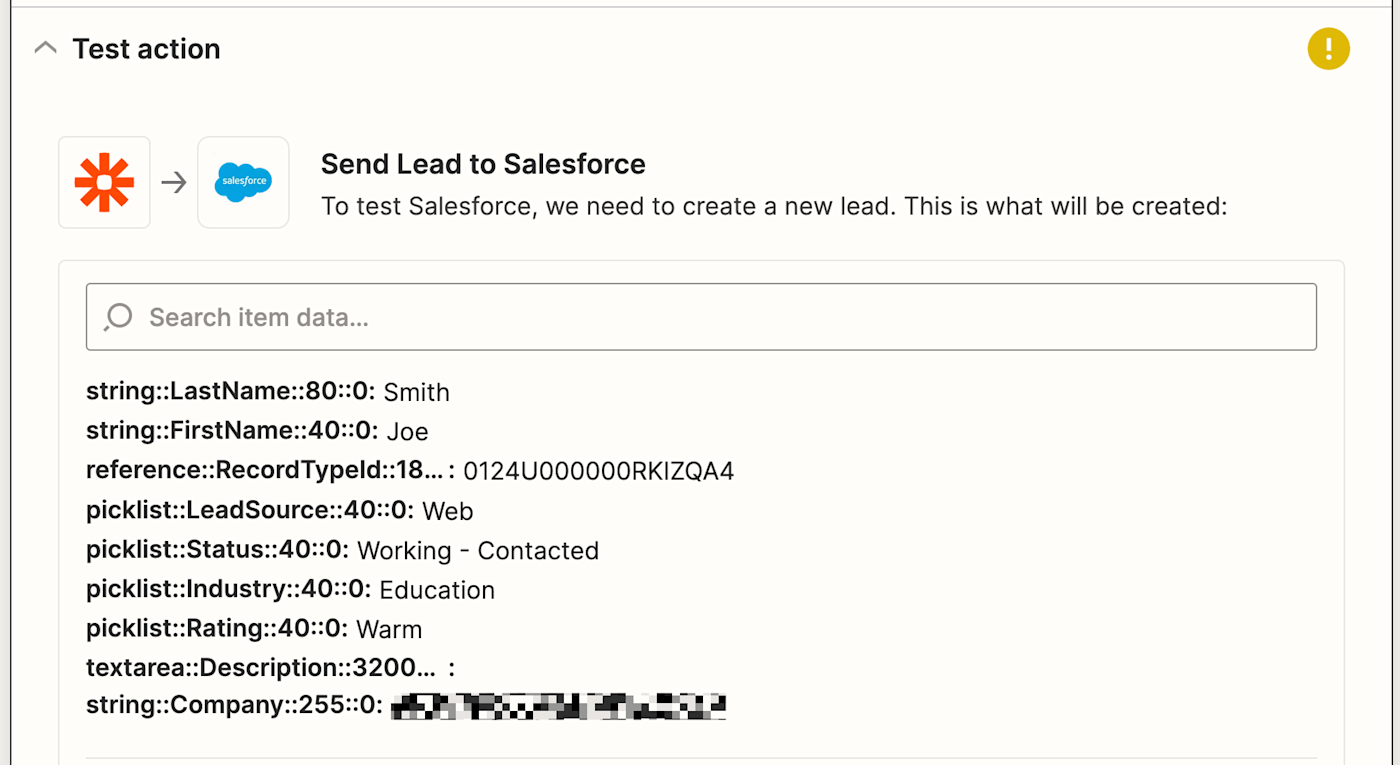
If the preview looks good to you, click Test & Continue. Zapier will now send a test lead to Salesforce based on what you configured earlier.
If you’re happy with the way the lead looks in Salesforce, it’s time to turn on your Zap! Your Zap will now automatically create a Salesforce lead every time there’s new contact activity in ClickFunnels.
Now, you can sit back and focus on your most important work.
Need Any Technology Assistance? Call Pursho @ 0731-6725516
")
")
")