Google makes it easy to share an entire calendar, but there’s no obvious way to copy all your events from one calendar to another. But that doesn’t mean it’s not possible.

Google Calendar offers exporting and importing, which is a great way to copy everything on one calendar right now over to another calendar (we’ll show you how to do this later on).
But that’s only a one-time transfer, meaning any new appointments you add to one calendar won’t copy over to your other calendar. That’s where Zapier comes in. You can set up a Zap—our word for our automatic workflows—that catches your new appointments and adds them to the right calendar automatically.
Skip ahead
New to Zapier? It’s a tool that helps anyone connect apps and automate workflows—without any complicated code. Sign up for free.
Automatically copy new events from one Google Calendar to another
You can create your own Zap from scratch without any coding knowledge, but we also offer quick templates to get you started.
If you’d like to start with a Zap template, click the button below, and you’ll be taken to the Zapier editor. You’ll need to create a Zapier account if you don’t already have one. Then, follow the directions below to set up your Zap.
But if you’d rather take a more hands on approach, you can do that too. Click here to get started making a new Zap.
Set up your Google Calendar trigger
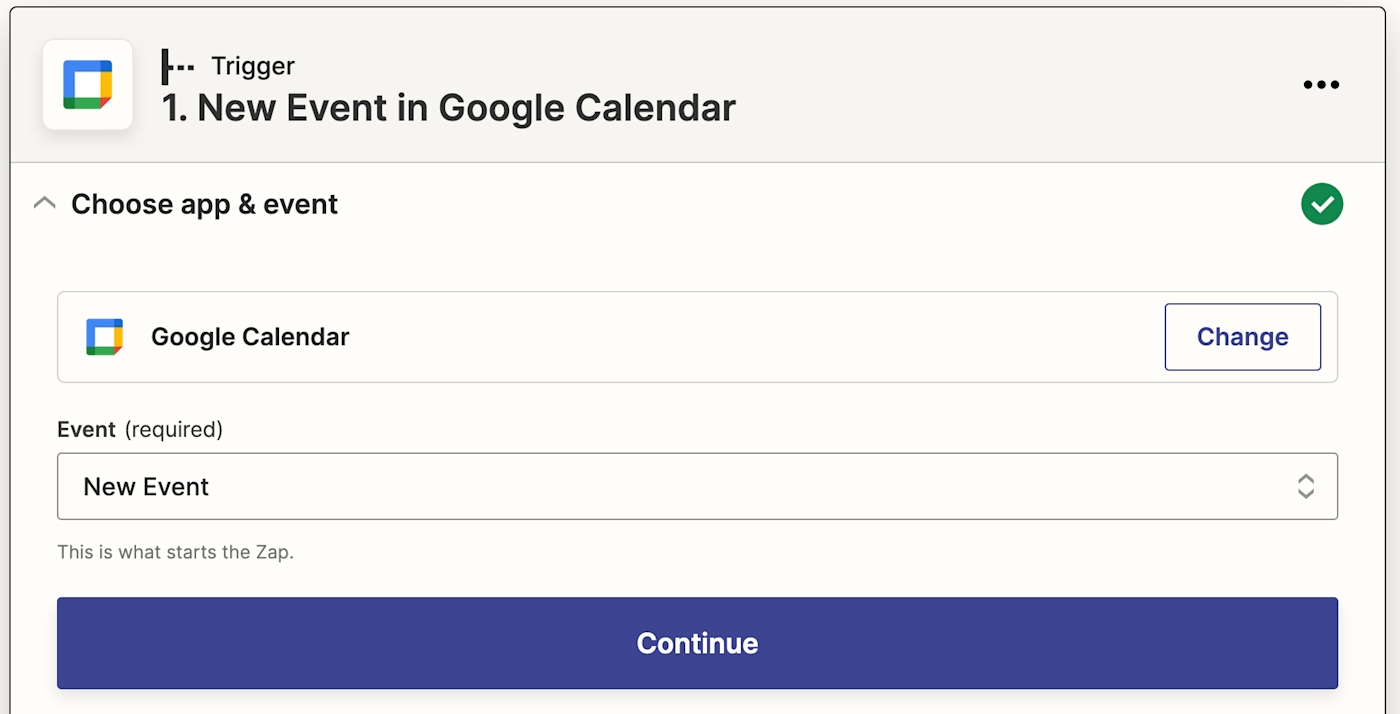
First, set up your trigger—the event that starts your Zap. If you’re using the Zap template, Google Calendar will already be selected as the trigger app and New Event as the trigger event. Click Continue.
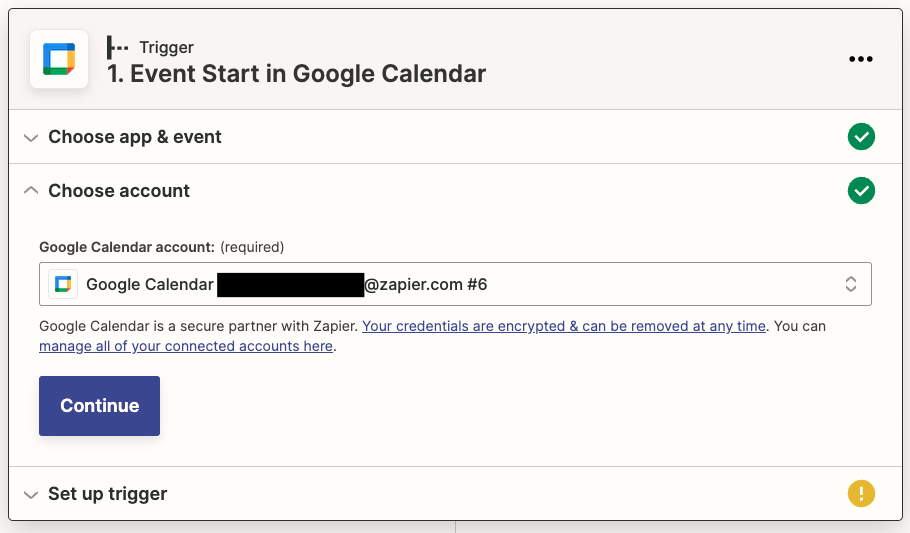
Next, connect your Google Calendar account by clicking on the dropdown menu and selecting +Connect a new account. You’ll need to give Zapier permission to access your account. Once you’ve connected your account, select it from the dropdown menu and click Continue.
Then select the correct calendar from the Choose value dropdown.
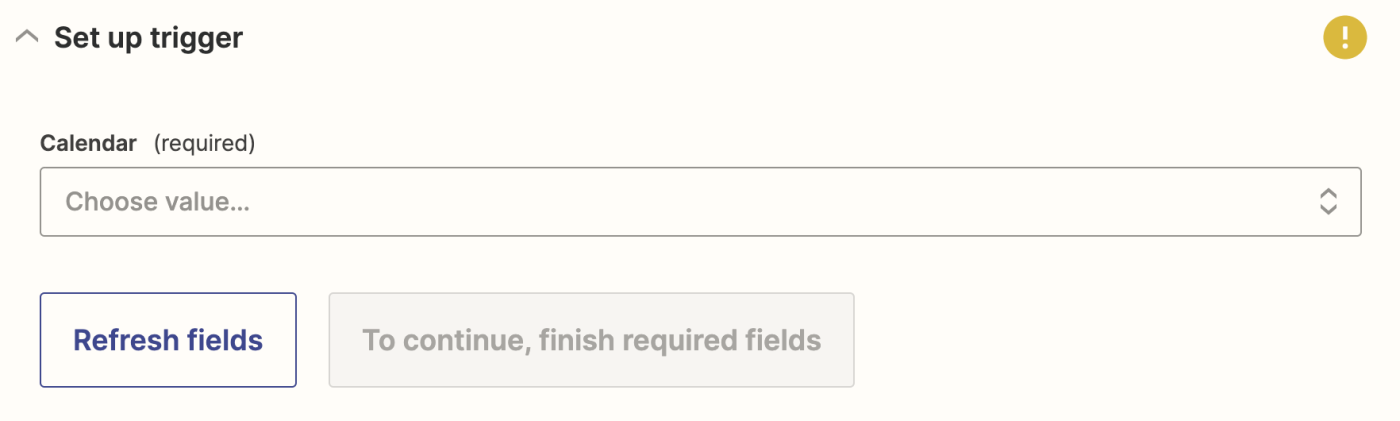
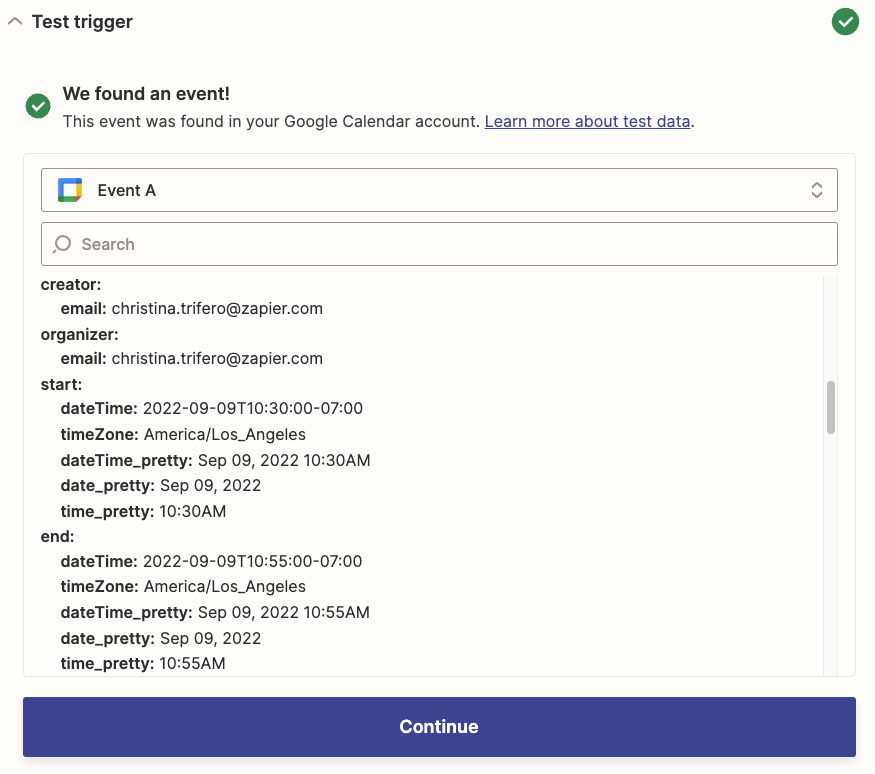
Next, click Test Trigger so Zapier will create a test event to make sure the trigger is working properly. Once the test runs successfully, click Continue.
Set up your Google Calendar event
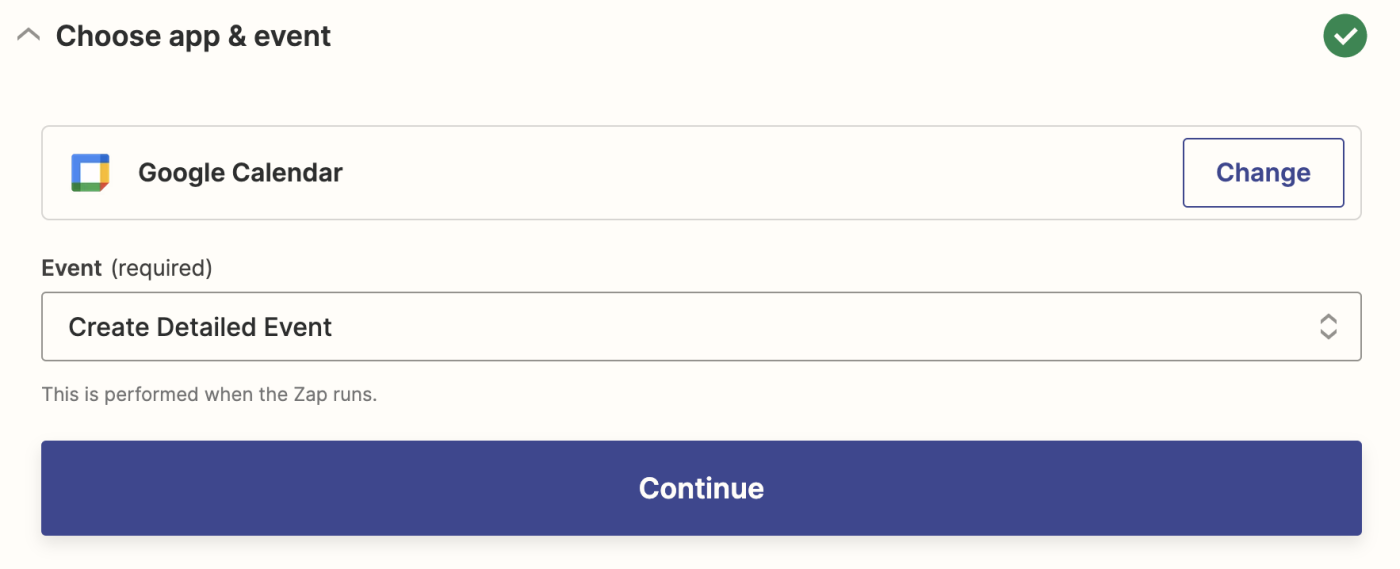
Now set up your action—the event your Zap will perform once it’s triggered. If using the Zap template, Google Calendar will already be selected as your action app and Create Detailed Event as your action event. Click Continue.
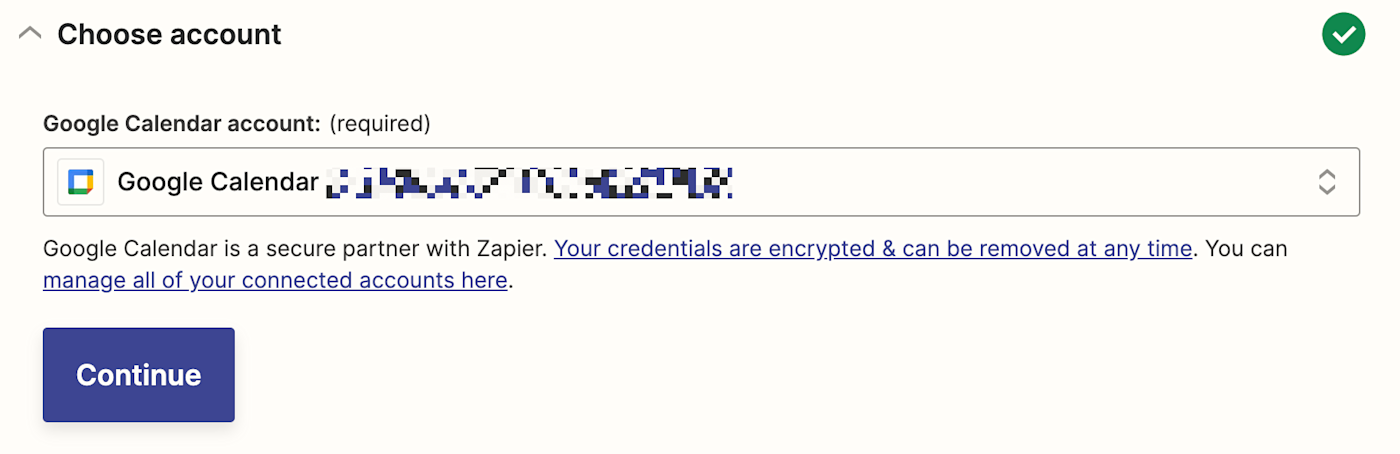
Next, select the Google Calendar account you want events to be copied to. Click Continue.
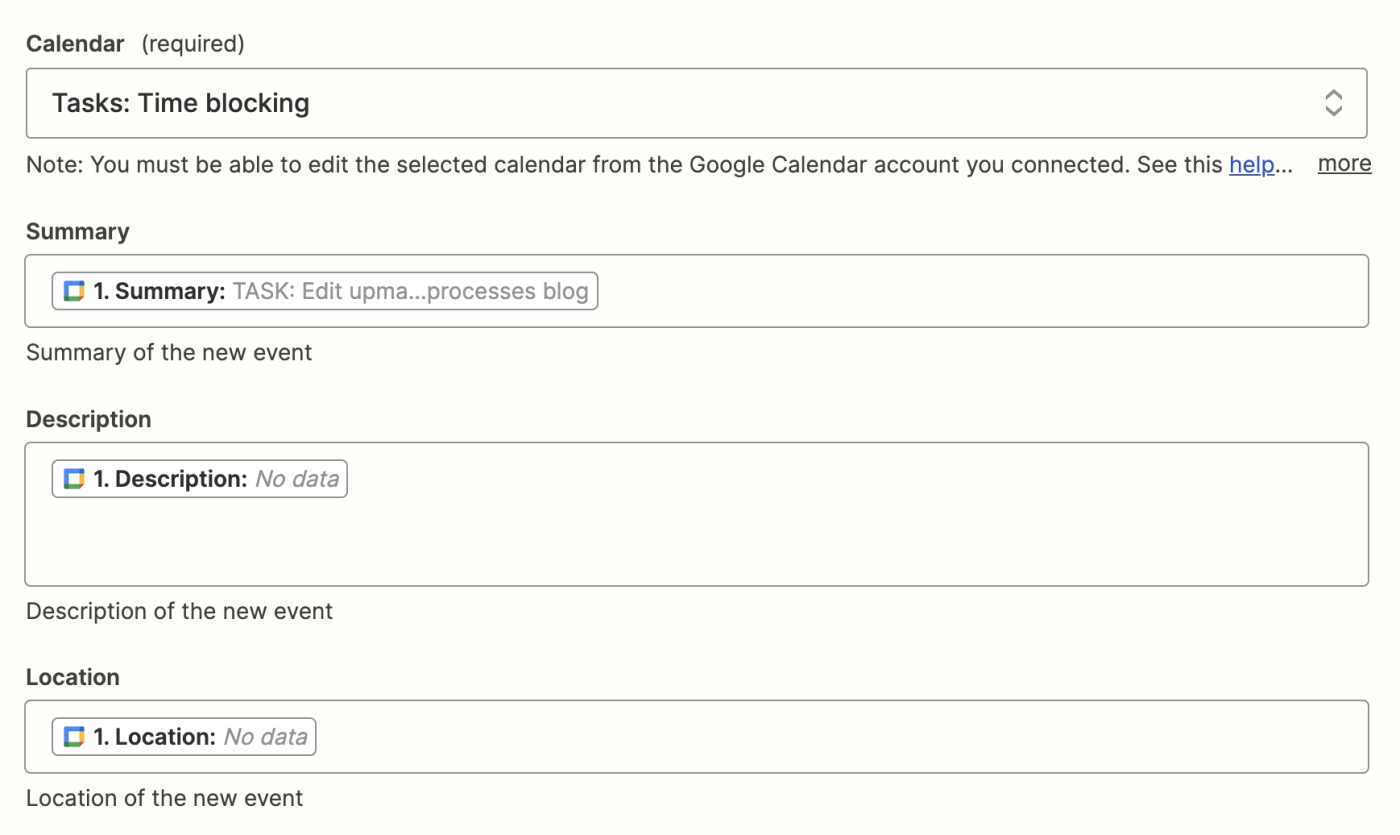
Now, it’s time to set the details of the copied event.
Start by selecting the correct calendar. Then, include the summary, description, and location of the new event.
You can type in text or pull data from your previous trigger step by clicking in the field and selecting the data you’d like to use (like the event summary) from the dropdown. If you’re using the Zap template, the data from the copied event will already be added in each field.
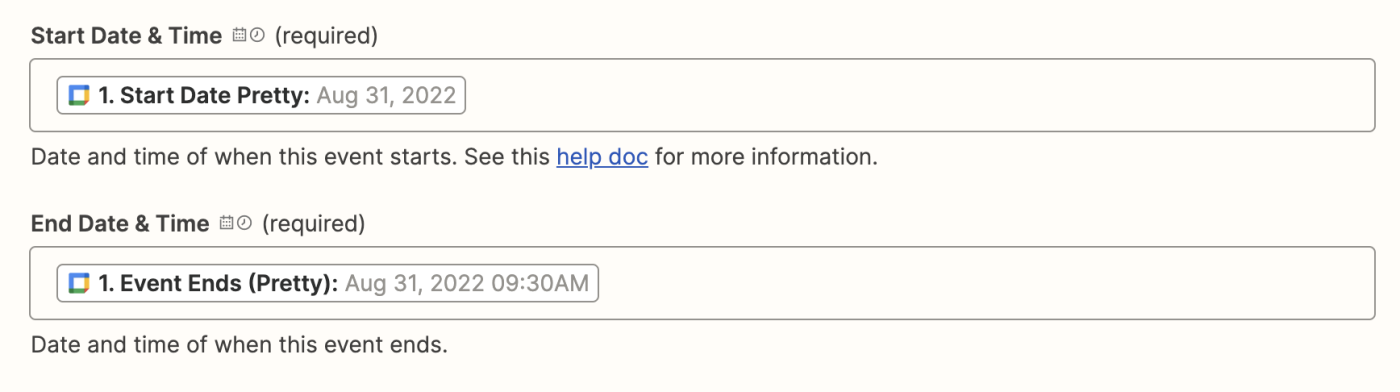
Next, select the start and end times for your copied event. Again, if you’re using the Zap template, the data from the copied event will already be added. Or you can pull data from your trigger step by clicking in the field and selecting it from the dropdown menu.
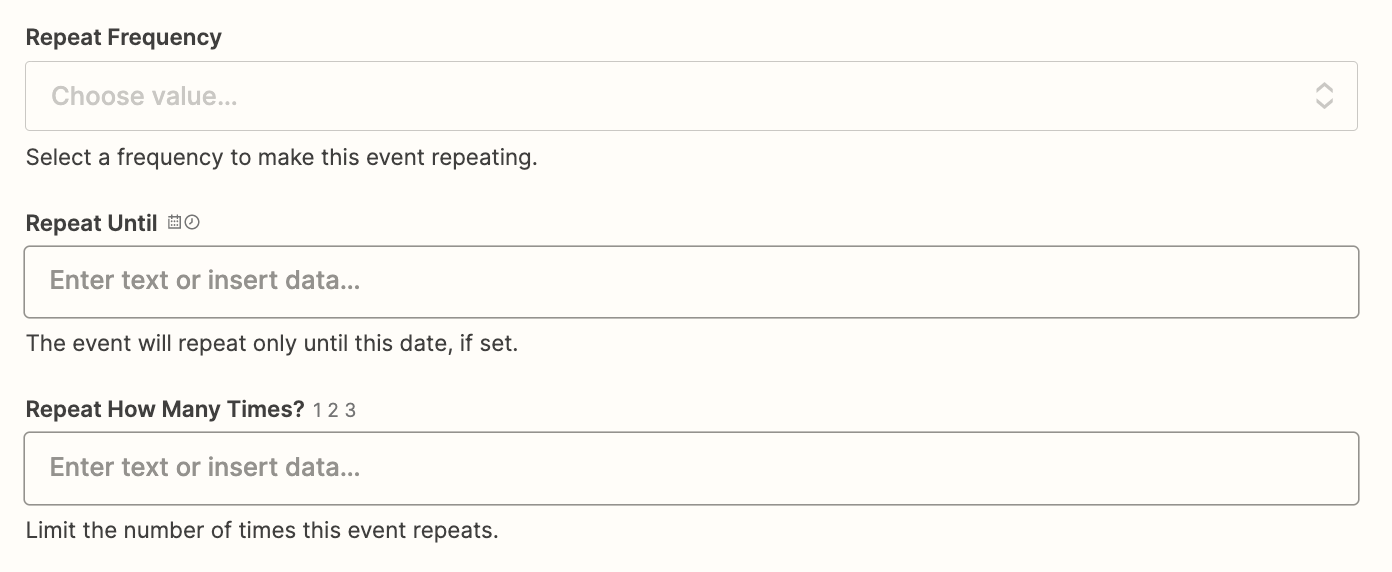
If you want this event to repeat, select the frequency, the end date for repetition, and how many times you want the event to repeat. Since this event is being copied over from another calendar, you’ll likely want to leave these fields blank.
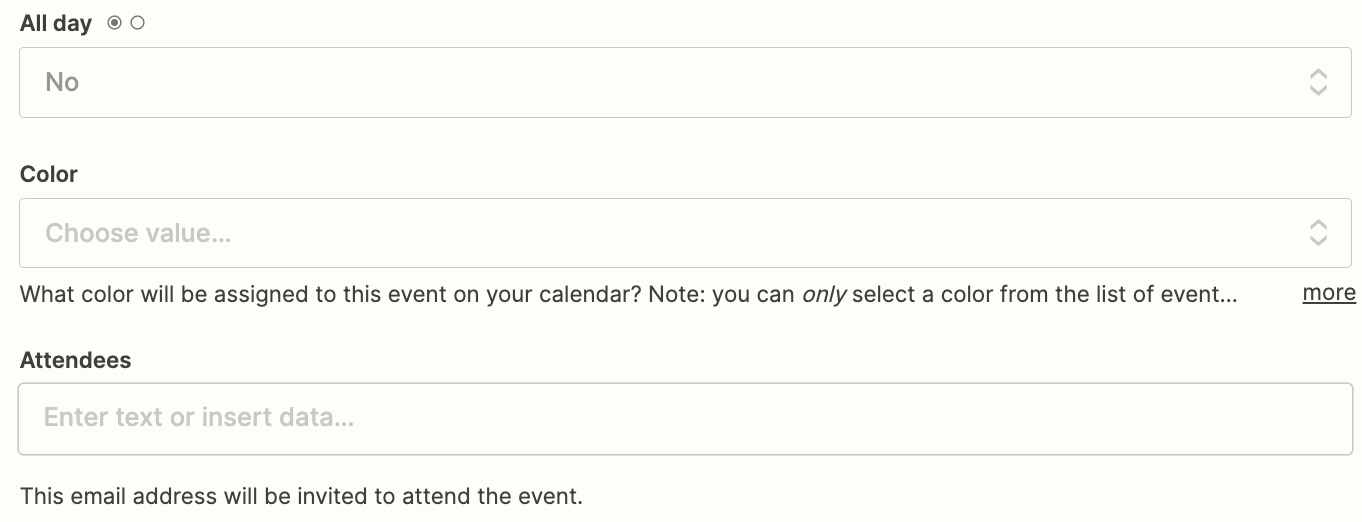
Next, choose if you want the event to be added as an all day event. You can also specify a color for the event and if you want to automatically add attendees.
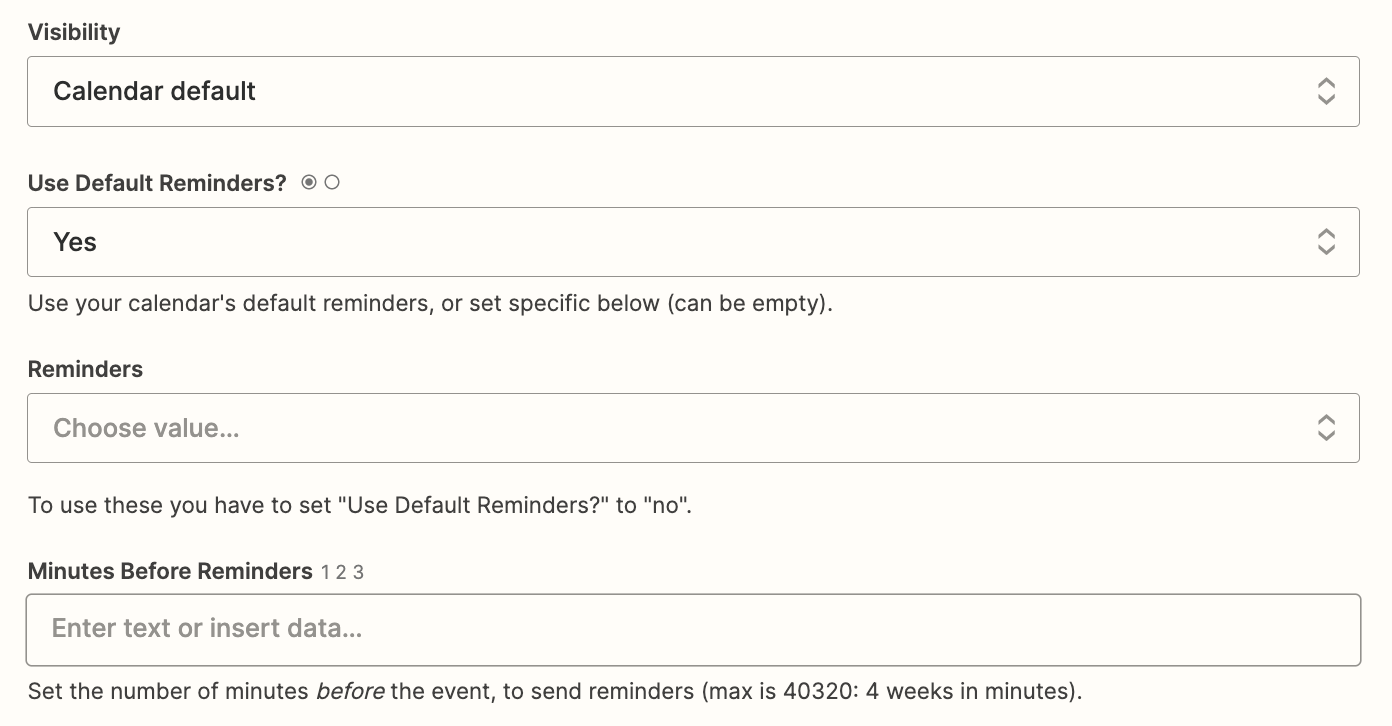
Set the visibility of the copied events and if you want to use the reminders that are already set for your Google Calendar account. If you want to set different reminders than your default settings, select No and fill in the Reminders and Minutes Before Reminders fields.
Choose if you want to be shown as Free or Busy and if guests can modify your event.
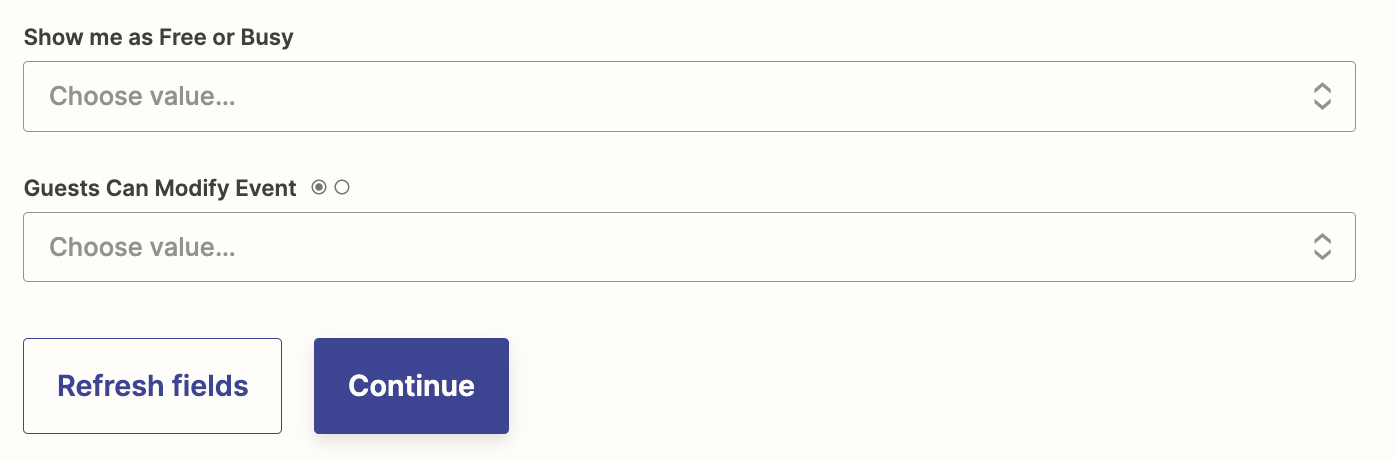
Click Continue and test your action. When you click Test & Review or Test & Continue, Zapier will send a calendar event to the calendar account you connected.
If you’d rather skip the test, just click Skip Test. If your test looks good, you’re now ready to use your Zap!
Export and import all appointments from one Google Calendar to another
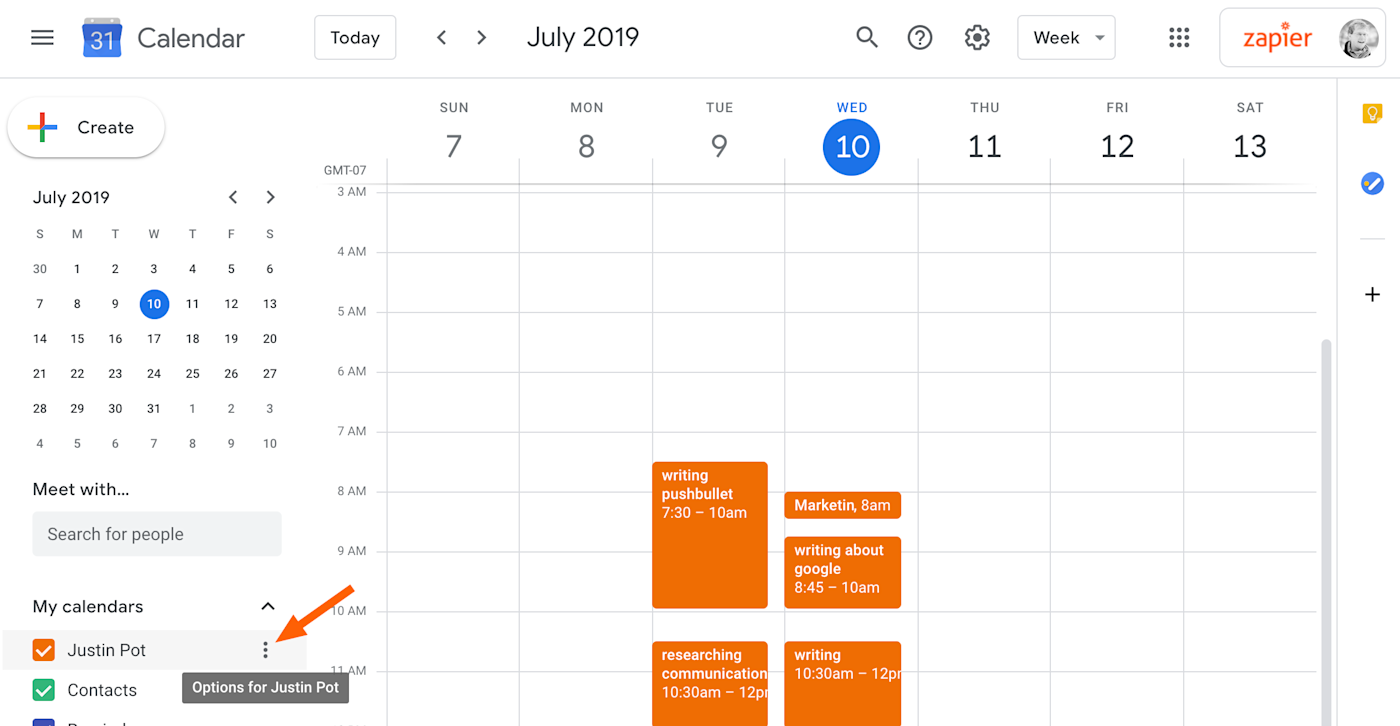
You can manually export an entire Google Calendar, then import all events to another calendar or even another account. To get started, open Google Calendar using the Google account that includes the events you want to copy. Next, hover over the calendar you want to export. Three vertical dots will appear.
Click the dots and a menu will pop up. Click Settings and sharing.

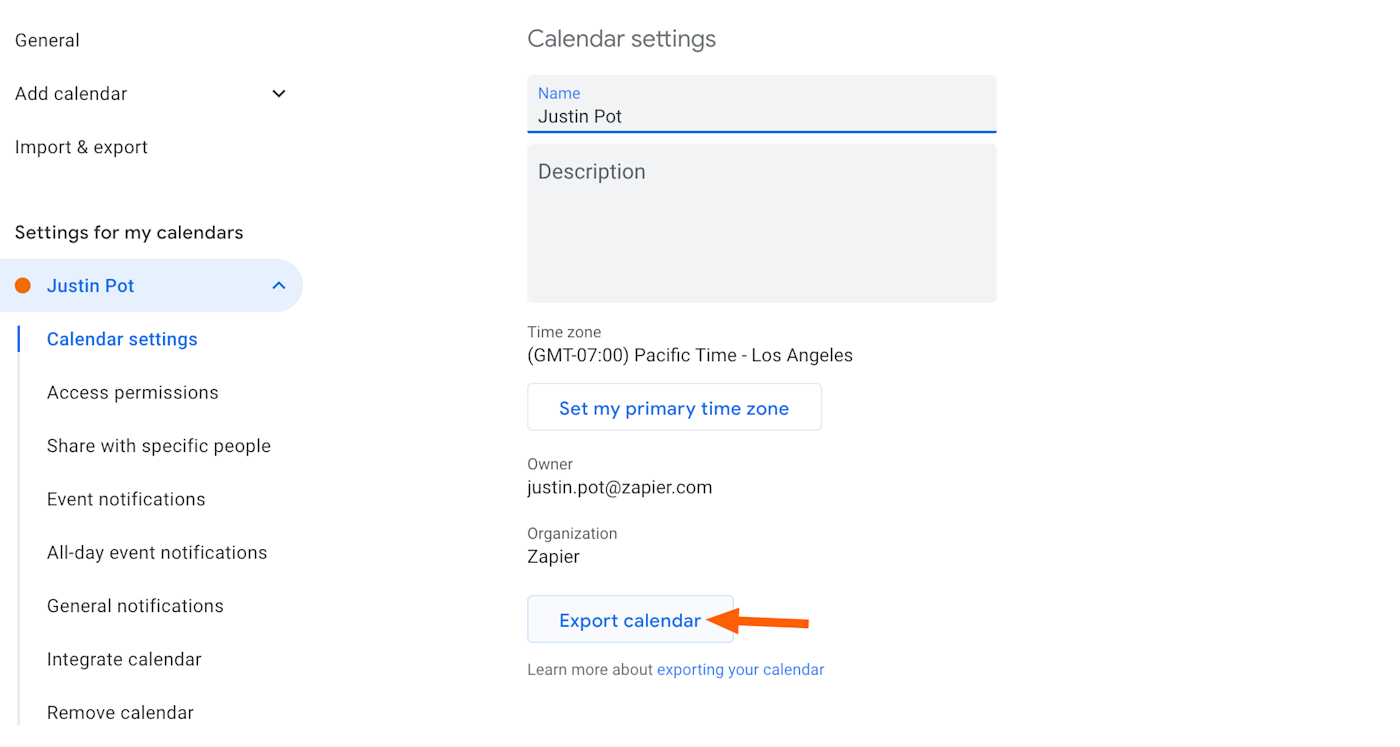
Now click the Export calendar button.
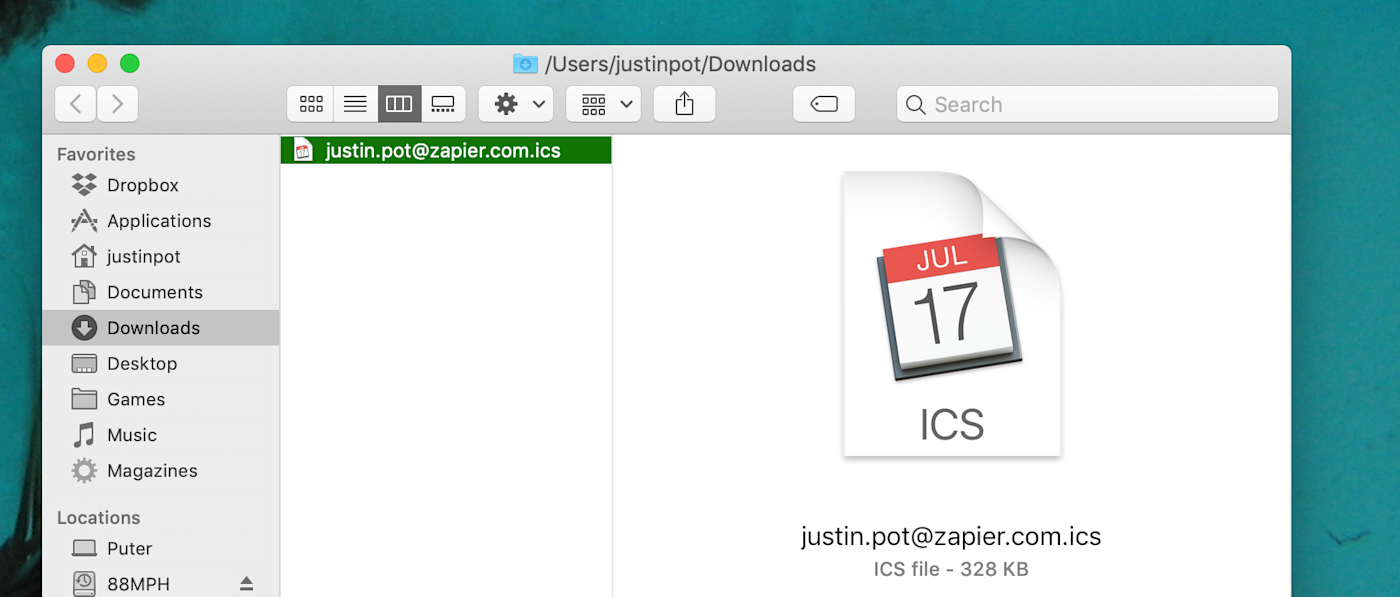
Your browser will download a .zip file, which you should open in order to find an .ical file.
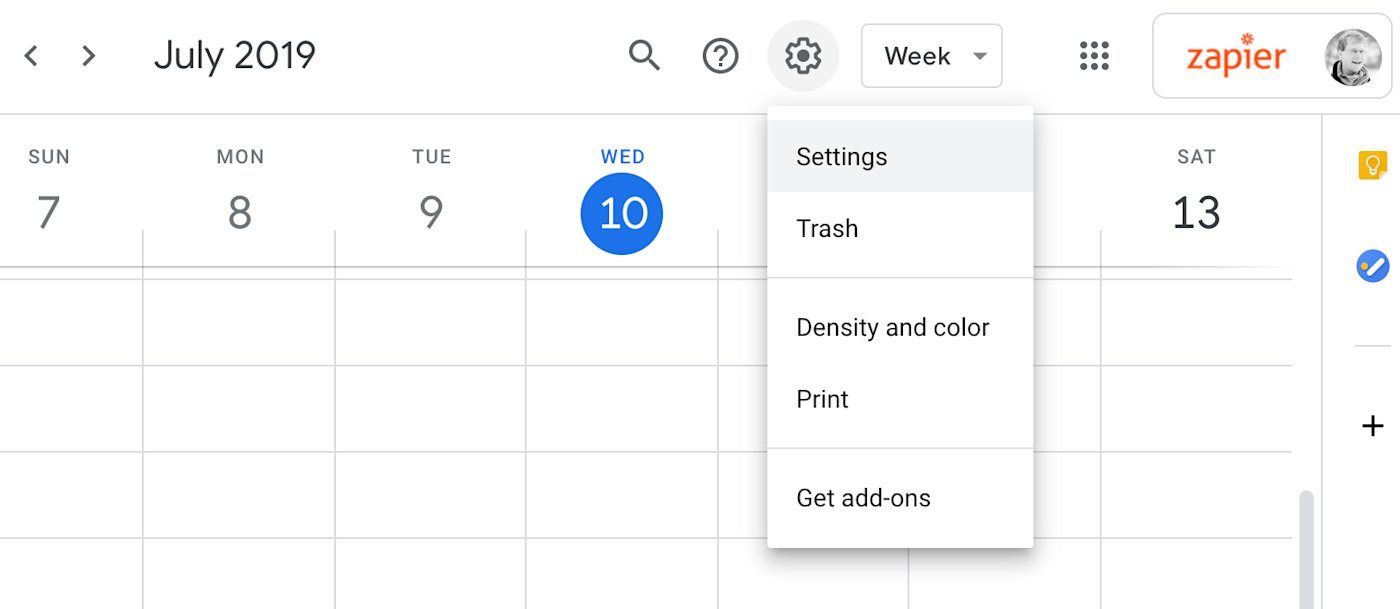
Next, open Google Calendar using the account that includes the calendar you want to copy your events to. Click the gear button in the top menu bar, then click Settings.
Click Import & Export in the settings, and you’ll find the Import option.

Select the file you just exported from the other calendar, then choose the calendar you’d like to import the dates to. You’ve now imported all of your events.
This article was originally published in July 2019, written by Justin Pot. It was updated in August 2022 by Ellie Huizenga.
Need Any Technology Assistance? Call Pursho @ 0731-6725516

")